
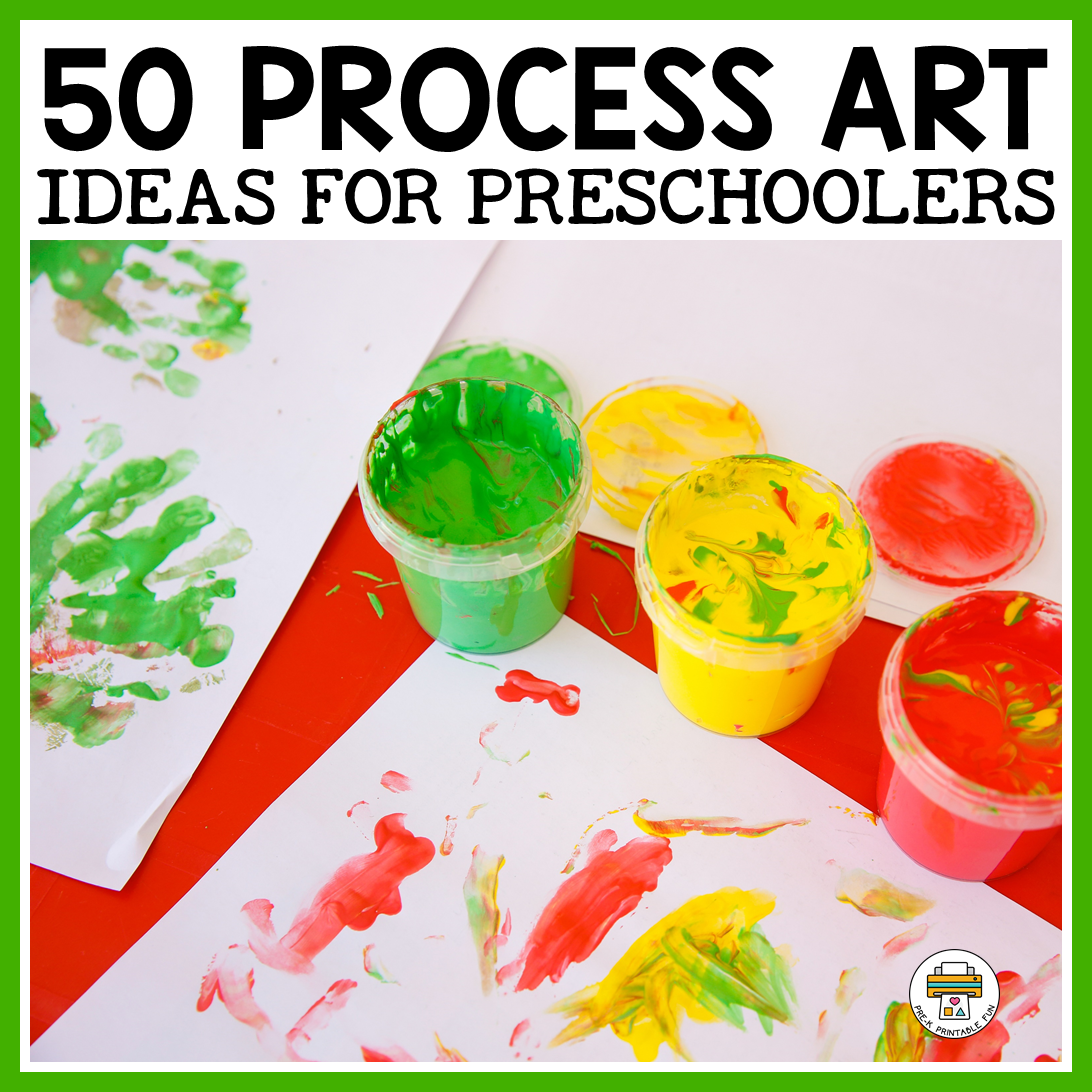
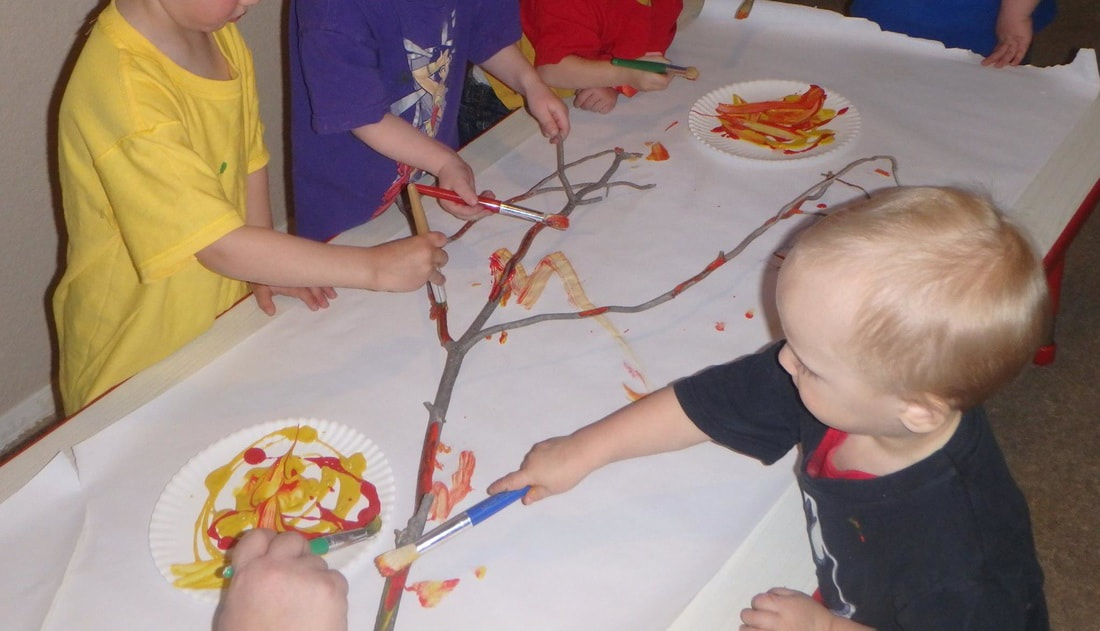
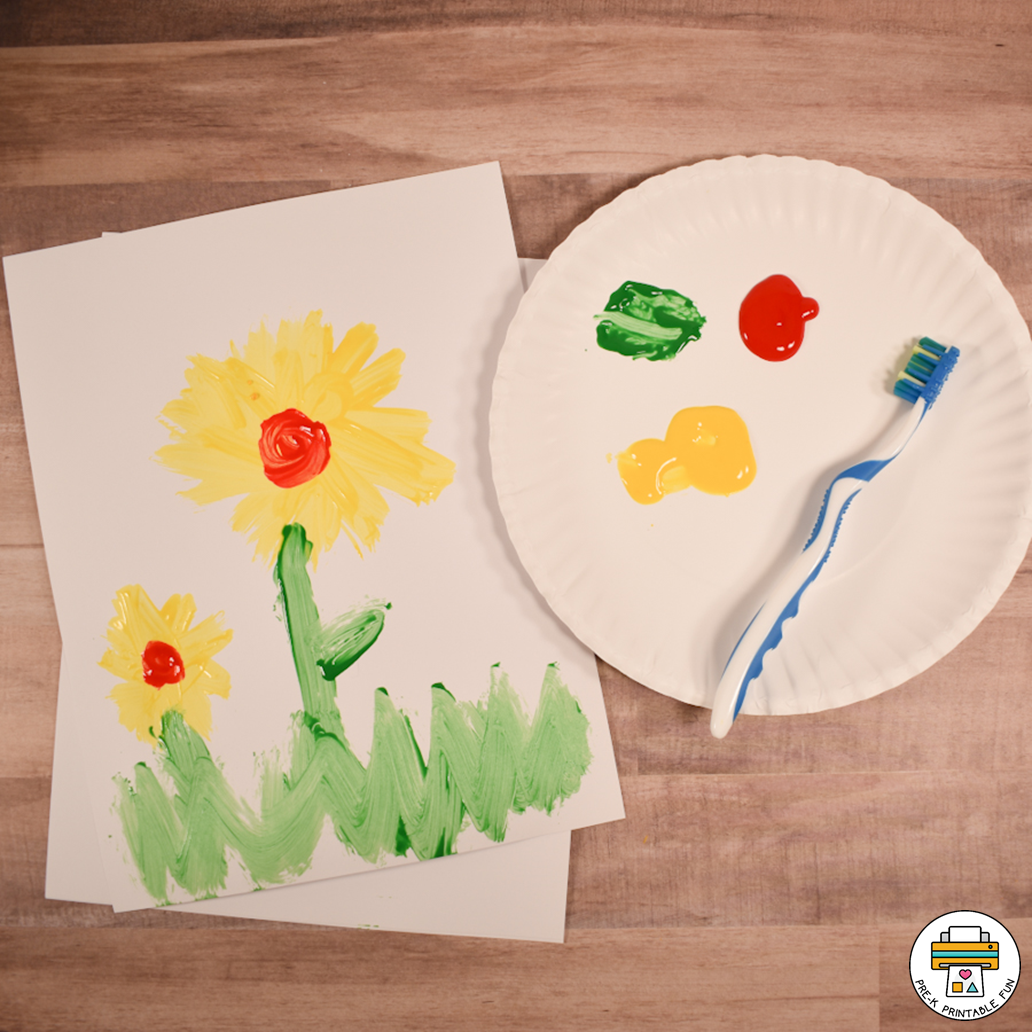
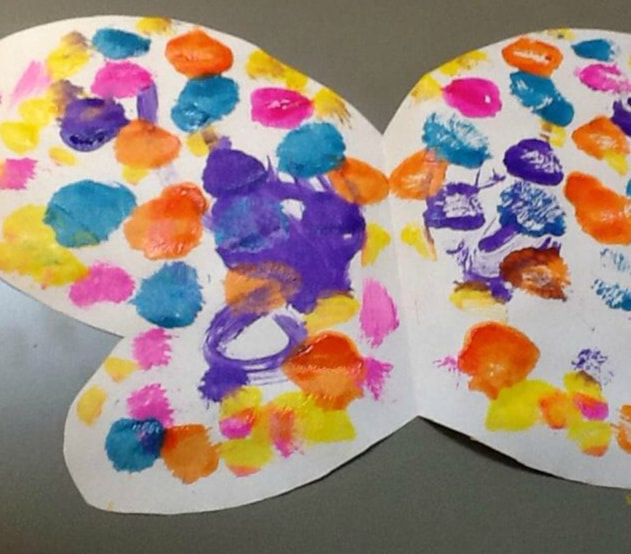
 50+ Preschool Process Art Ideas to encourage Creativity and ImaginationEncouraging creativity and imagination in preschoolers is essential for their overall development. Process art, an art form that focuses on the process of creating rather than the end result, is an excellent way to inspire creativity and imagination in young children. Here are some ways process art can help preschoolers unleash their inner artists, along with 50+ process art ideas you can try in your preschool program... It fosters experimentation In process art, there are no rules or instructions to follow. Preschoolers are free to experiment with different materials, colors, and textures, which helps them develop their creativity and imagination. It promotes problem solving skills Process art allows preschoolers to explore different solutions to a problem, such as how to mix colors or how to make a collage stick together. This helps them develop problem-solving skills that will benefit them throughout their lives. It encourages self-expression Process art gives preschoolers the freedom to express themselves in their own unique way. This helps them develop their sense of self and boosts their self-confidence. It supports fine motor development Process art often involves using small muscles to manipulate materials, such as cutting paper or molding clay. This helps preschoolers develop their fine motor skills, which are important for tasks such as writing and using utensils. It inspires a love of learning Process art is fun and engaging, which helps preschoolers develop a love of learning. When children enjoy what they are doing, they are more likely to continue exploring and discovering new things. 50+ Preschool Process Art ideas to try! Stencil Dab Painting: Use large stencils and dot markers
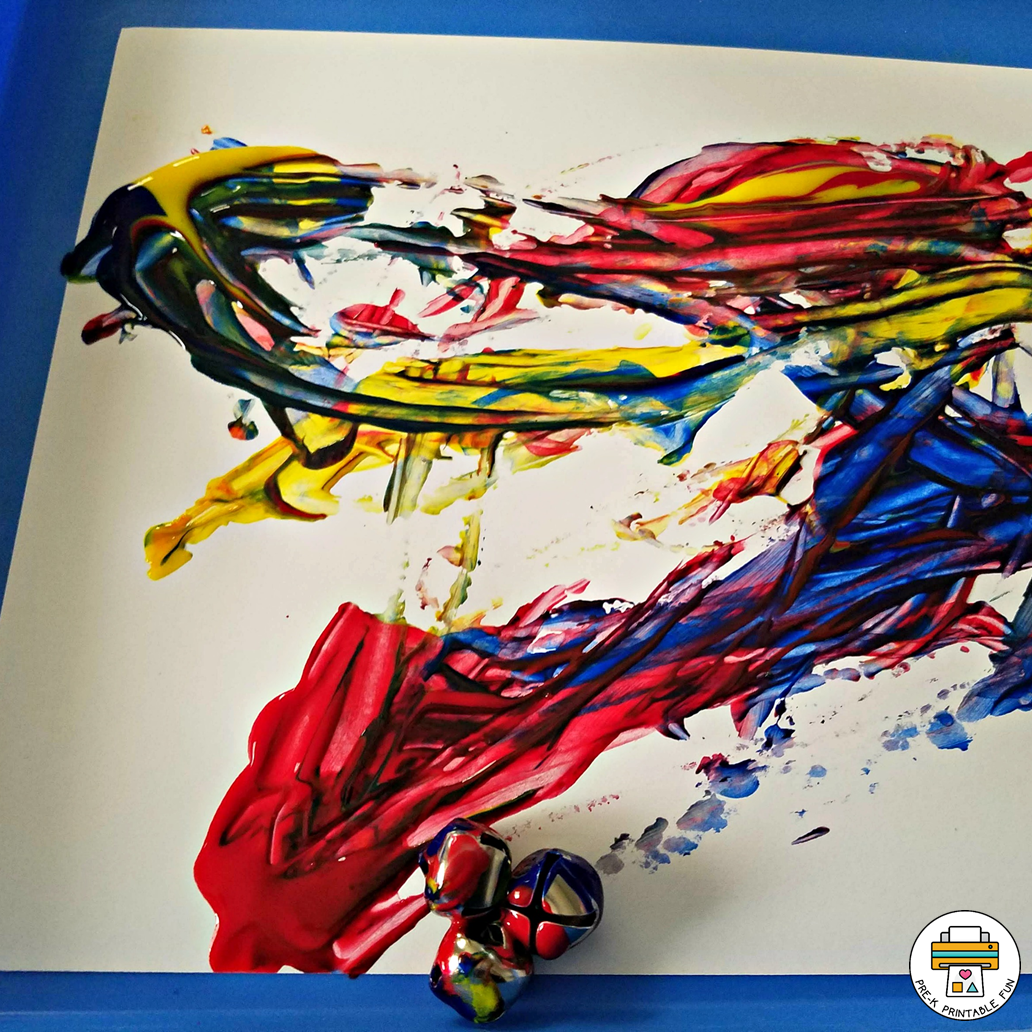
Marble Painting: Put drops of shaving cream and tempera paint in a box lid, drop in some marbles and gently roll back and forth
String Prints: Wrap yarn or string around a paper towel tube. Students drip paint onto a canvas or paper. Students then roll the tube through the paint to make their chosen design. Threaded Pipe painting: In a cardboard lid or tray drop shaving cream and paint. Drop a threaded male-to-male fitting inside. Then either roll gently back and forth to make a design or use a magnet wand on the underside of the lid to move the fitting. Weaving: Provide a variety of ribbon along with a dish mat from the dollar store (the kind that has square holes all across it). Invite students to weave ribbon in and out making any design they choose. 3D art sculpture: Provide large nuts and bolts, include interesting fittings such as elbows. Invite students to create 3D art sculpture. Recycled Material Collage: Provide empty food cans (be sure they are clean and were cut with no sharp edges, inspect carefully), large nuts, bolts, and washers along with googly eyes and other collage materials.
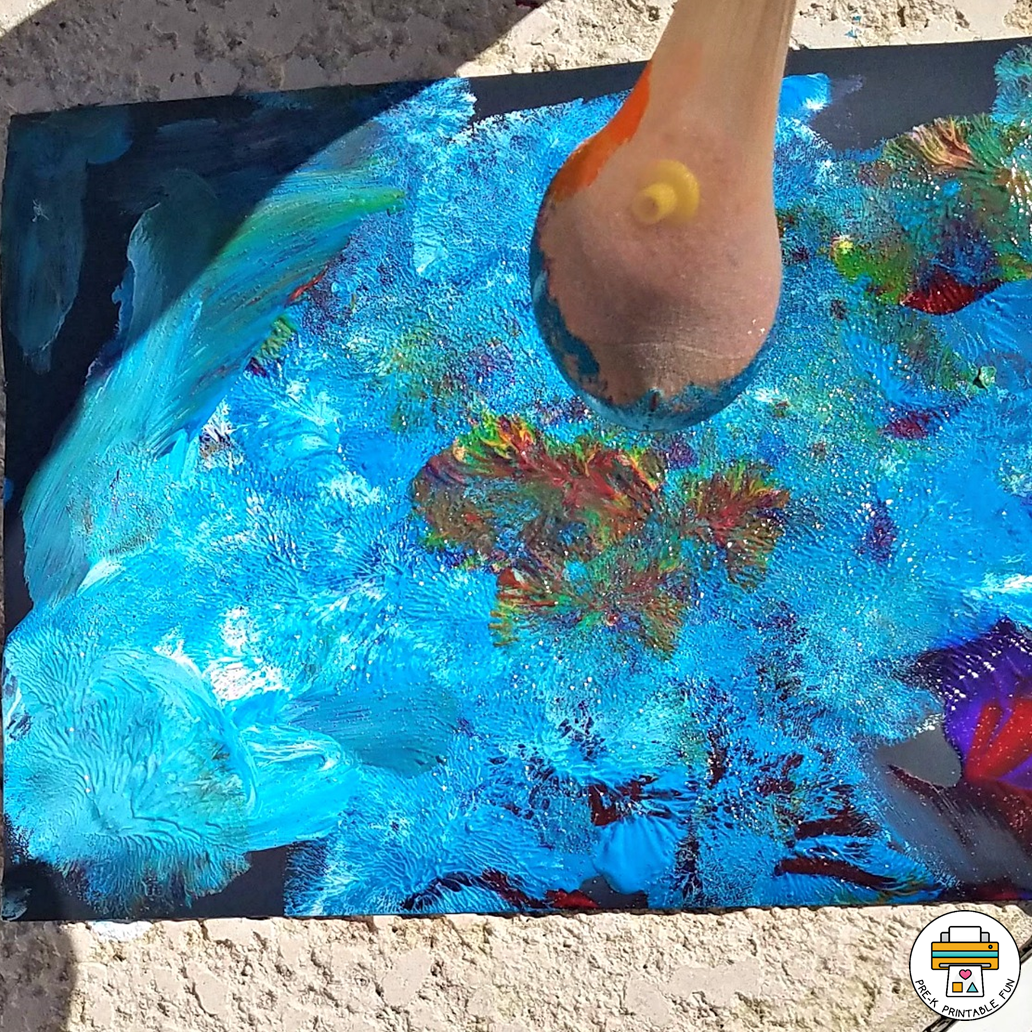
Footprint Painting: Provide a large piece of paper or drop cloth and tempera paints, invite students to walk through the paint onto the drop cloth to make a work of art.
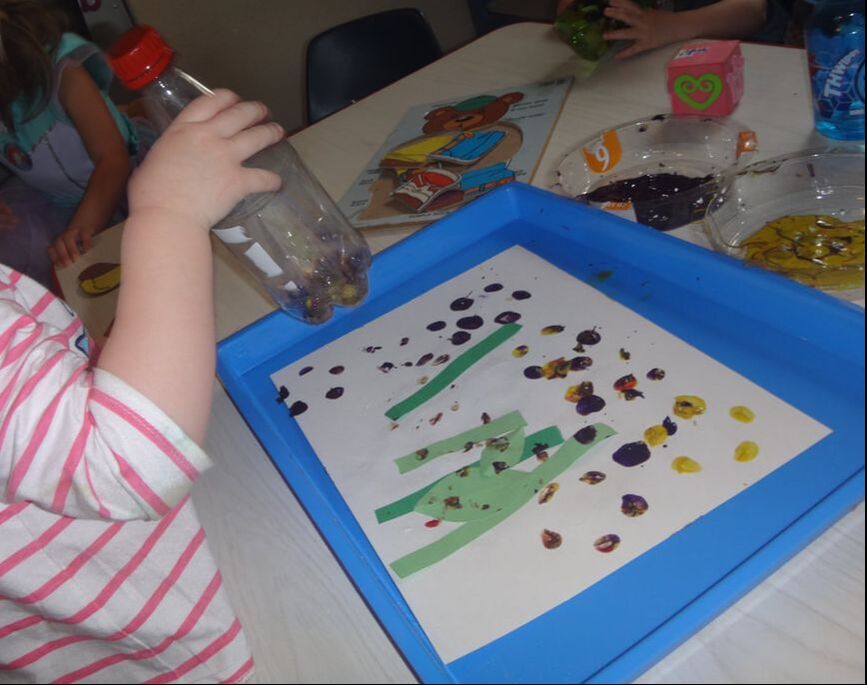
Squirt Bottle Art: Use a large squirt bottle to paint with washable liquid colors Spray Bottle Art: Paint with washable liquid watercolors in a spray bottle Plunger Art: Use a plunger to paint on large butcher paper Eye Dropper Art: Use an eyedropper to paint with liquid watercolors
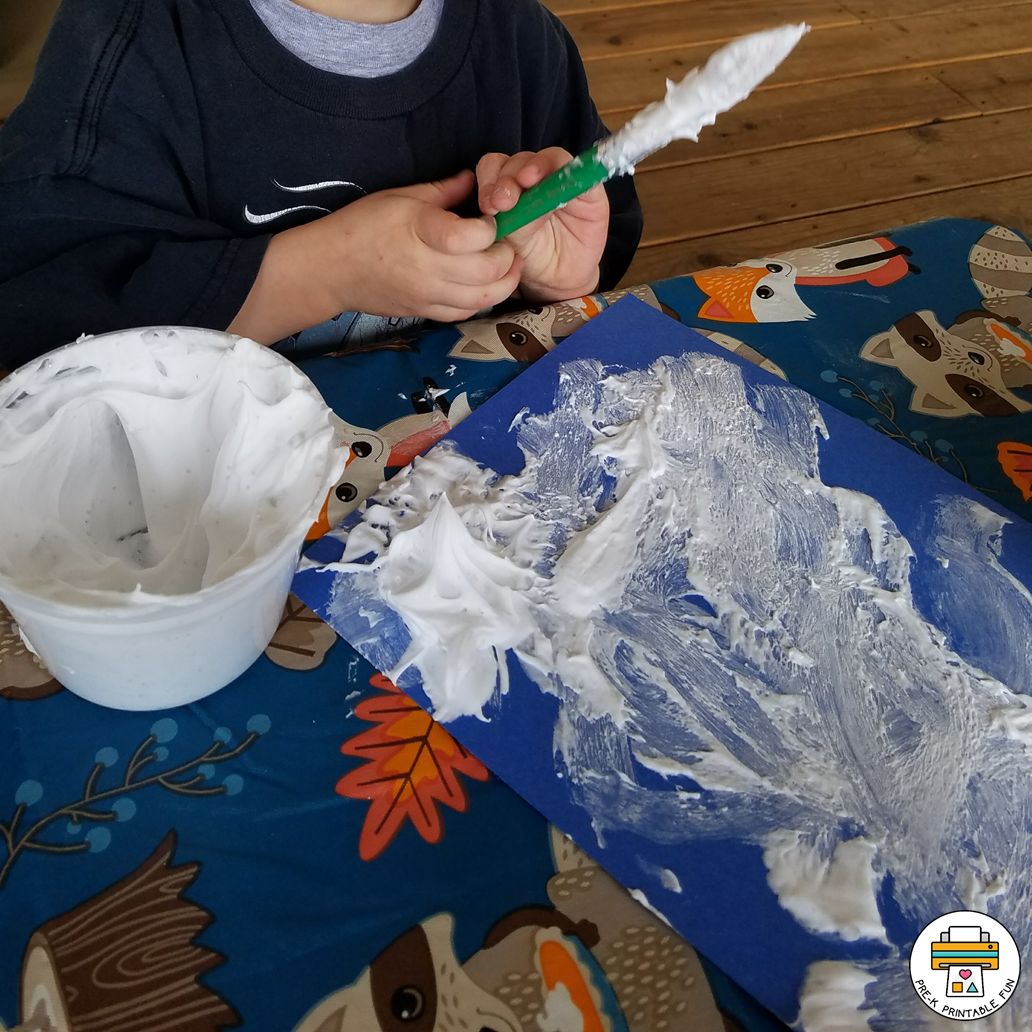
Holiday Collage: Provide a variety of materials in holiday colors (such as white, red, and pink for valentines or red, white, and blue for Independence Day) such as pom poms, shredded paper, craft sticks, washi tape and perhaps some items from nature such as dried flowers or small pine cones. Provide glue and invite students to create as they choose. Cardboard Tube Stamping: Cut paper towel tubes in half, use the ends to make stamps on paper, kids can choose to form the end of the tube to create a different shape or design. Bubble Wrap Printing: Paint on the bubble wrap, and gently lay a piece of paper on top. Press down gently, and peel your paper away to review your masterpiece Nature Frames: Collect rocks, twigs, and pine cones. Provide small trays or pictures frames. Students can create works of art from the nature materials. Take a picture of their art if they wish to be hung in the classroom. Puffy Paint Art: Make a your own Puffy Paint art
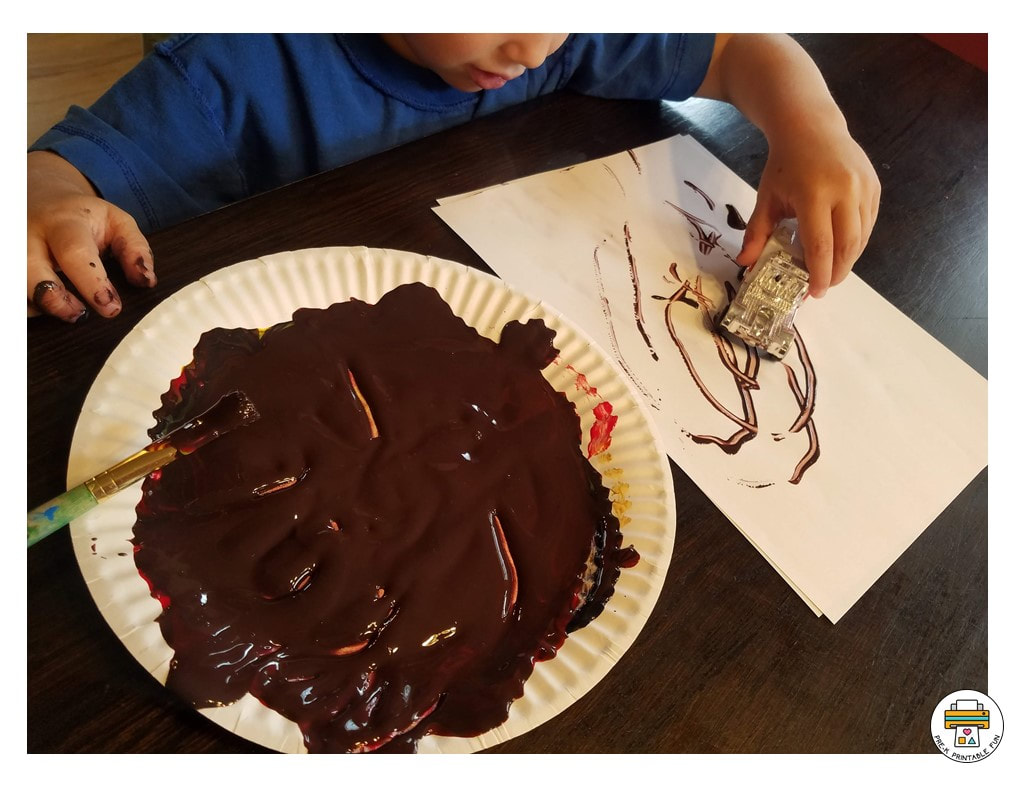
Ramp Paintings: Provide poster board, card stock, or butcher paper. Set the paper up on a ramp. Invite students to dip cars or trucks into paint and roll down the ramp.
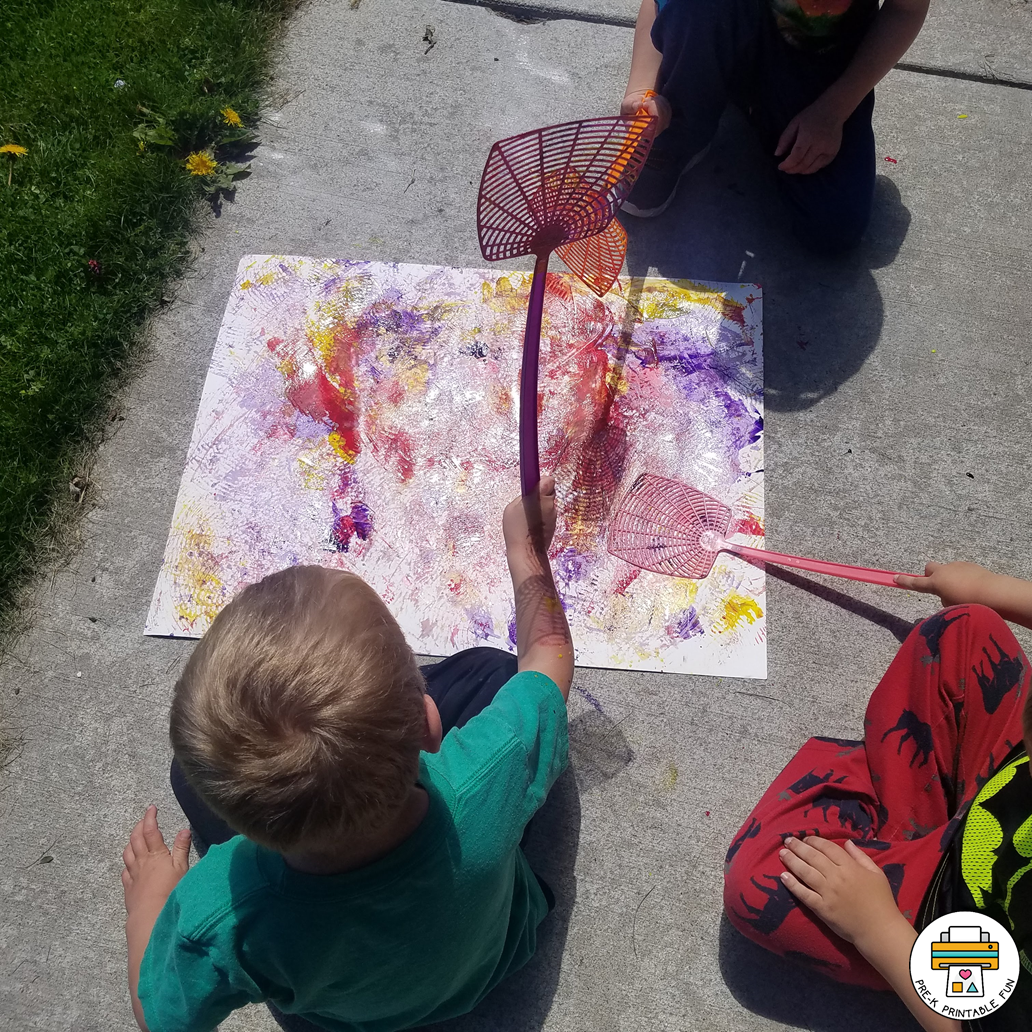
Layer Painting: Use biocolors to paint in layers on paper Bottle Cap Stamping: Use a bottle cap as a stamp, dip into paint and then make a design with the stamp on paper Shower Sponge Art: Use shower sponges and tempera paint, throw at a large piece of poster board (outdoors) Scrape painting: Provide paint (tempera or bio colors) and scrapers (or make your own from cardboard!) for students to explore.
Fork Stamping: Painting with a plastic fork and tempera paint
Comb Painting: Provide tempera paint in a variety of colors and combs in a variety of sizes and colors for painting. Food Container Stamping: .Provide clean empty food containers, students can dip into paint and then stamp onto paper. Be sure to provide a variety of sizes. Foil Art: Use permanent markers in a variety of colors to draw on aluminum foil
Animal Tracks: Provide plastic animal figures and tempera paint for children to dip animals in and make tracks on card stock. Seed Mosaic: Make a seed mosaic with seeds Process art is an excellent way to encourage preschool creativity and imagination. It fosters experimentation, promotes problem-solving skills, encourages self-expression, supports fine motor development, and inspires a love of learning. By incorporating process art into their daily routines, parents and educators can help preschoolers unleash their inner artists and set them on a path of lifelong creativity and imagination. Free Preschool Theme Planning Guide Make Your Own Sidewalk Chalk Tips for Creating Preschool Learning Spaces You Might Like: |
What can I help you find?
Become a Member
Get Free
|


 RSS Feed
|
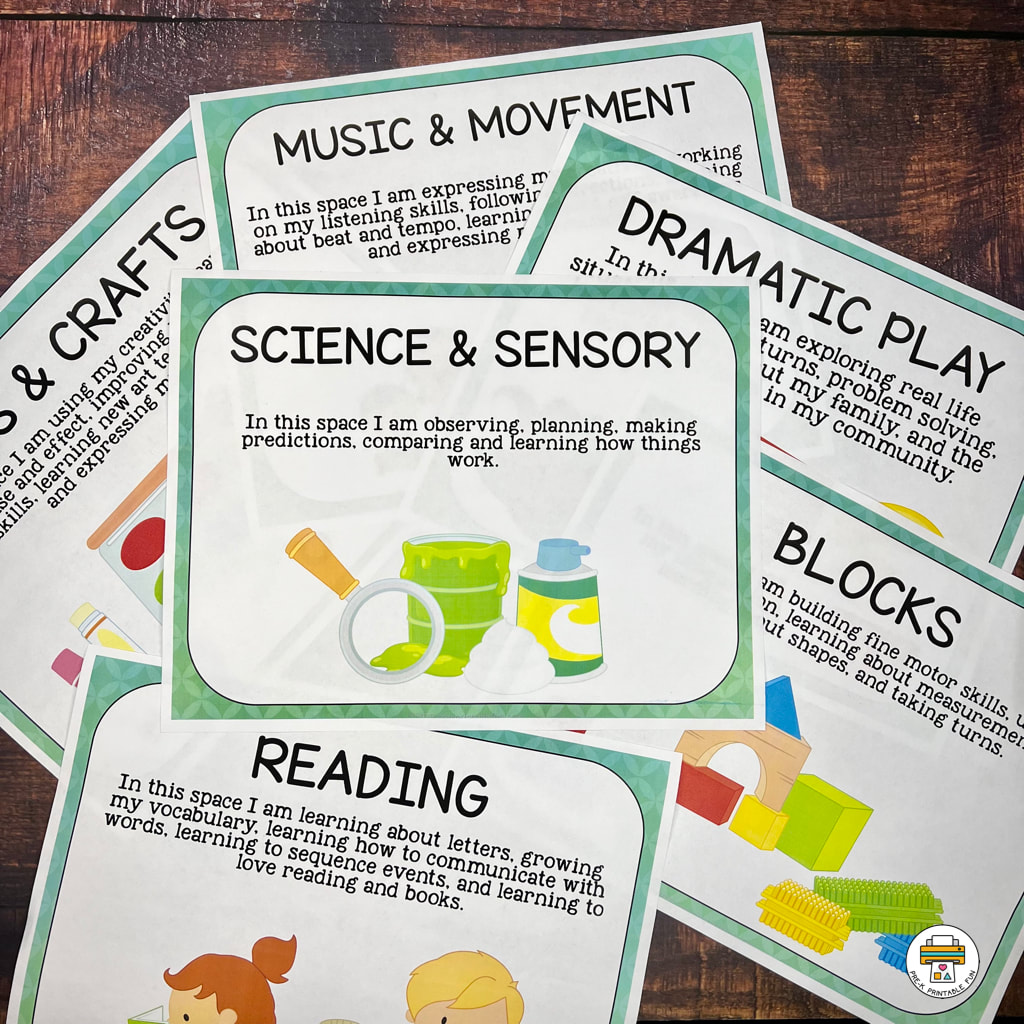
Learning Centers
Preschool Learning Centers are commonly referred to as Preschool Centers, or Learning Spaces. These are activity areas dedicated to a specific type of of play and exploring a variety of topics and activities. Download our Free set of Center Signs!
|
Site
|
|