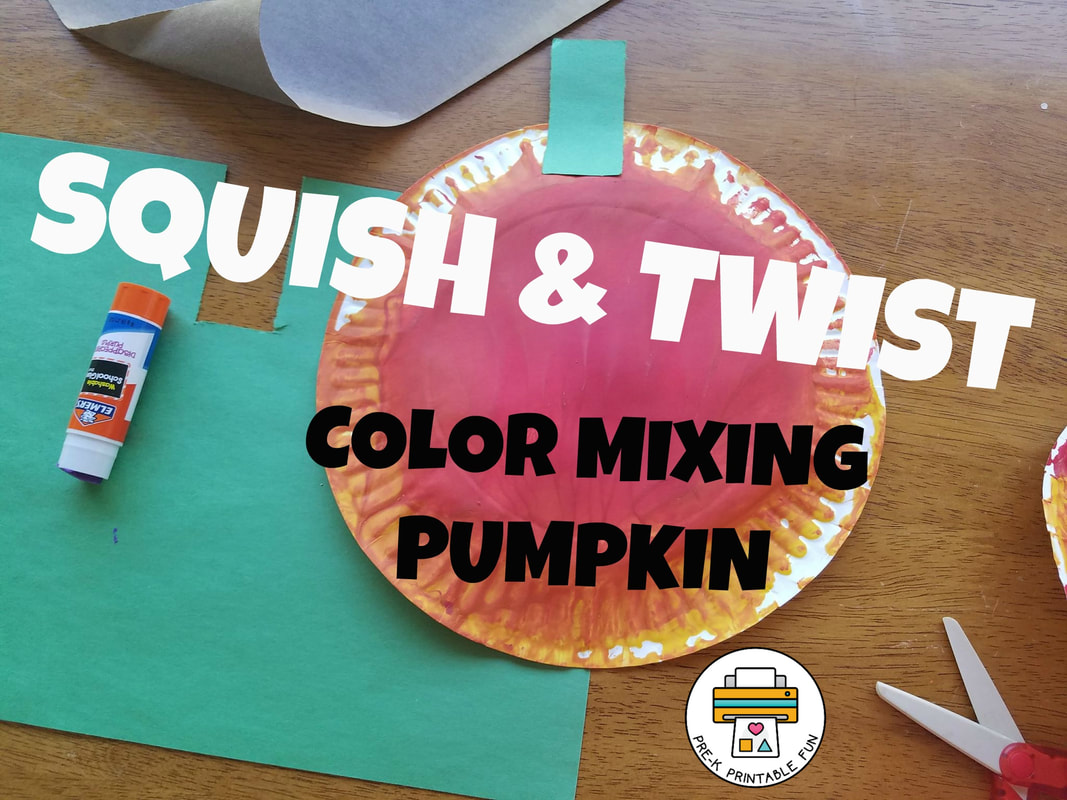
Squish and Twist Color Mixing Pumpkin tutorialExplore color mixing with this fun squish and twist pumpkin art! This technique incorporates science, and improves fine motor skills! Use this open ended process to create color mixing creations year round! Materials For this project you will need:
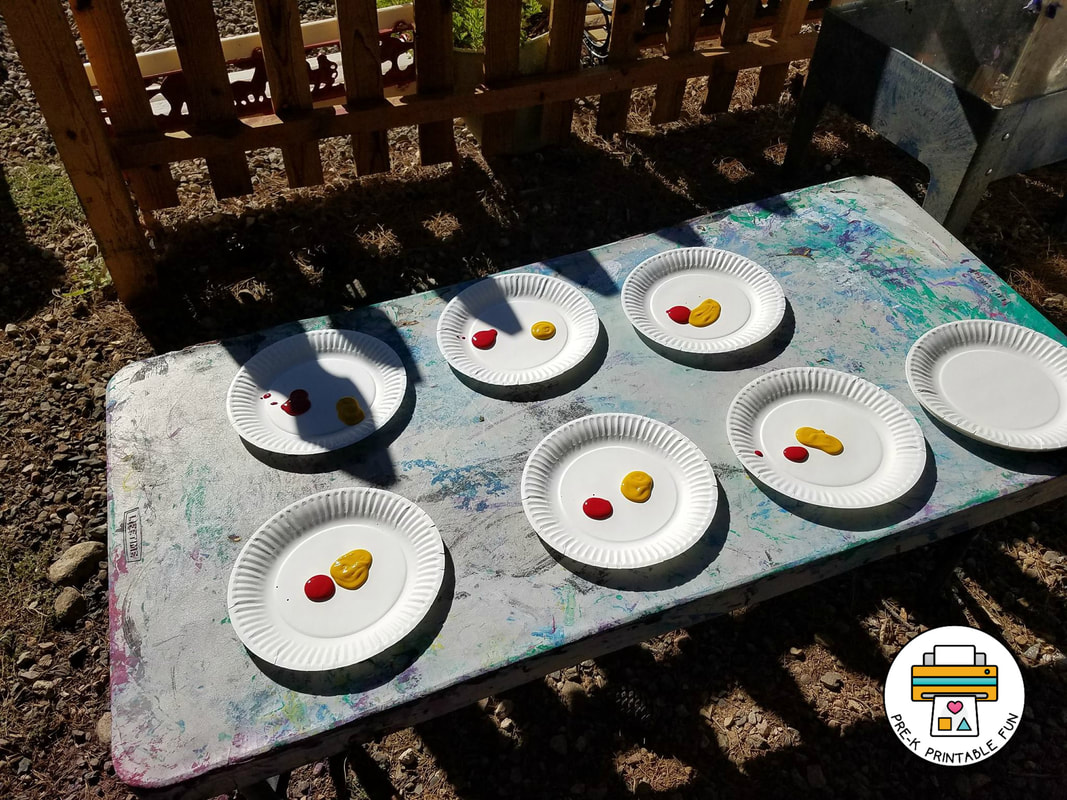
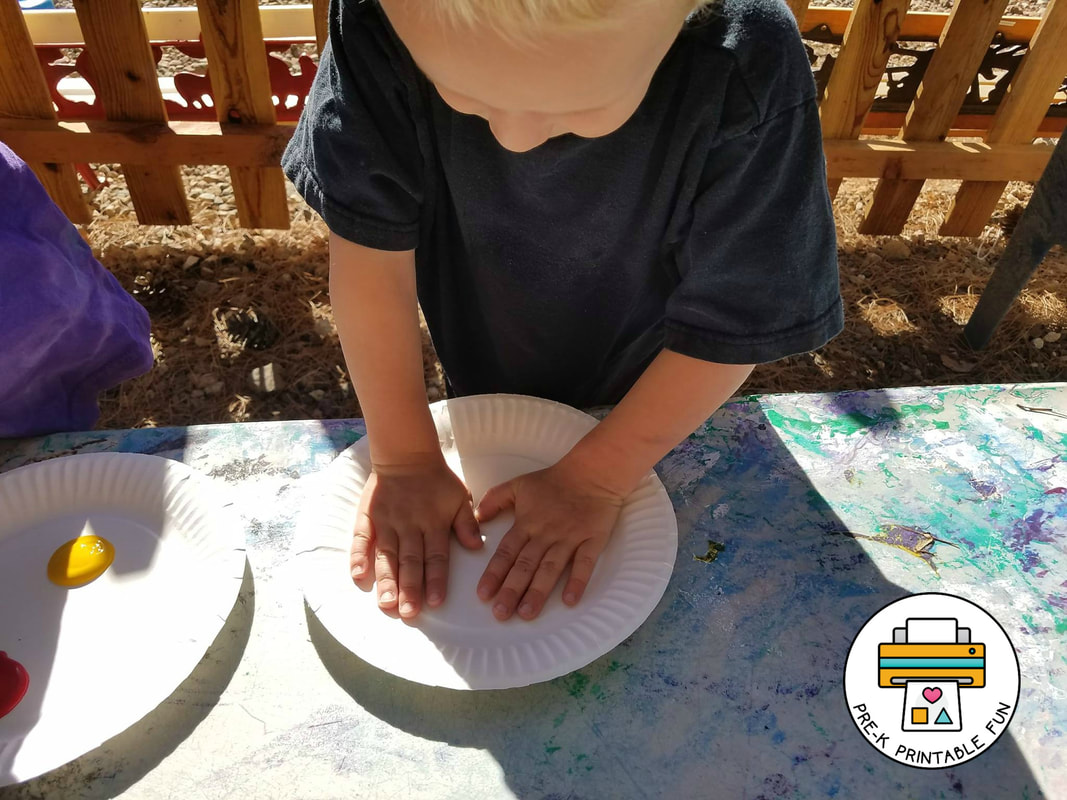
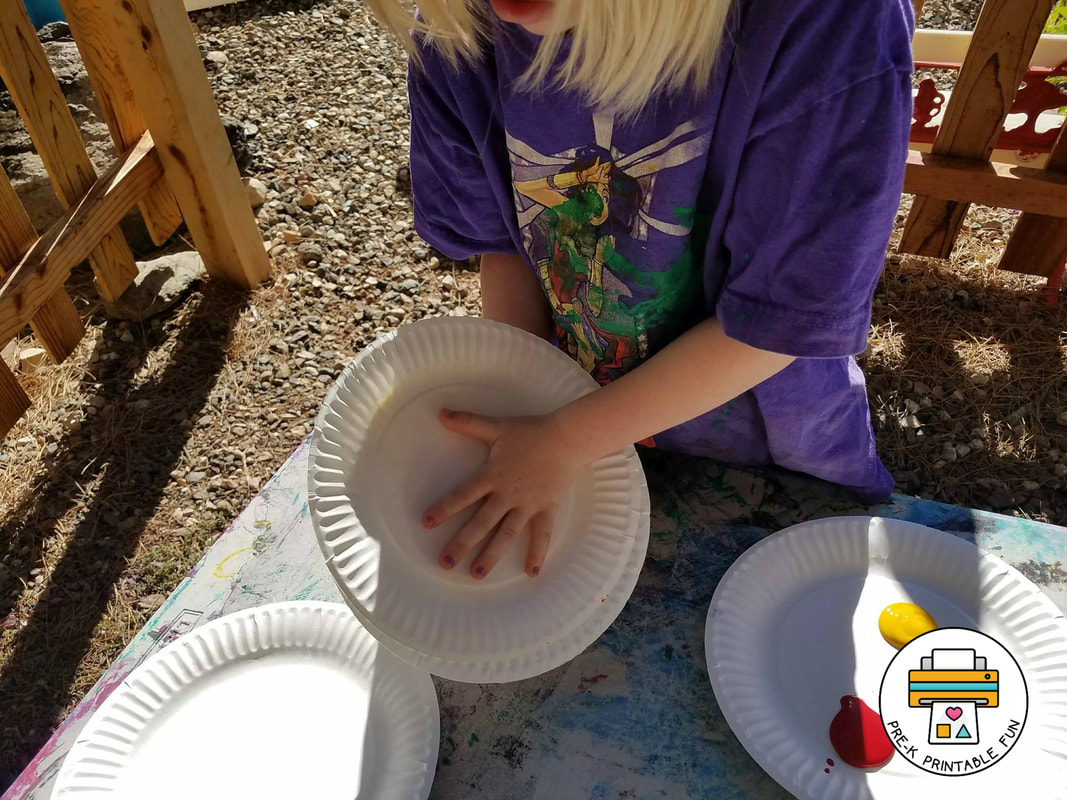
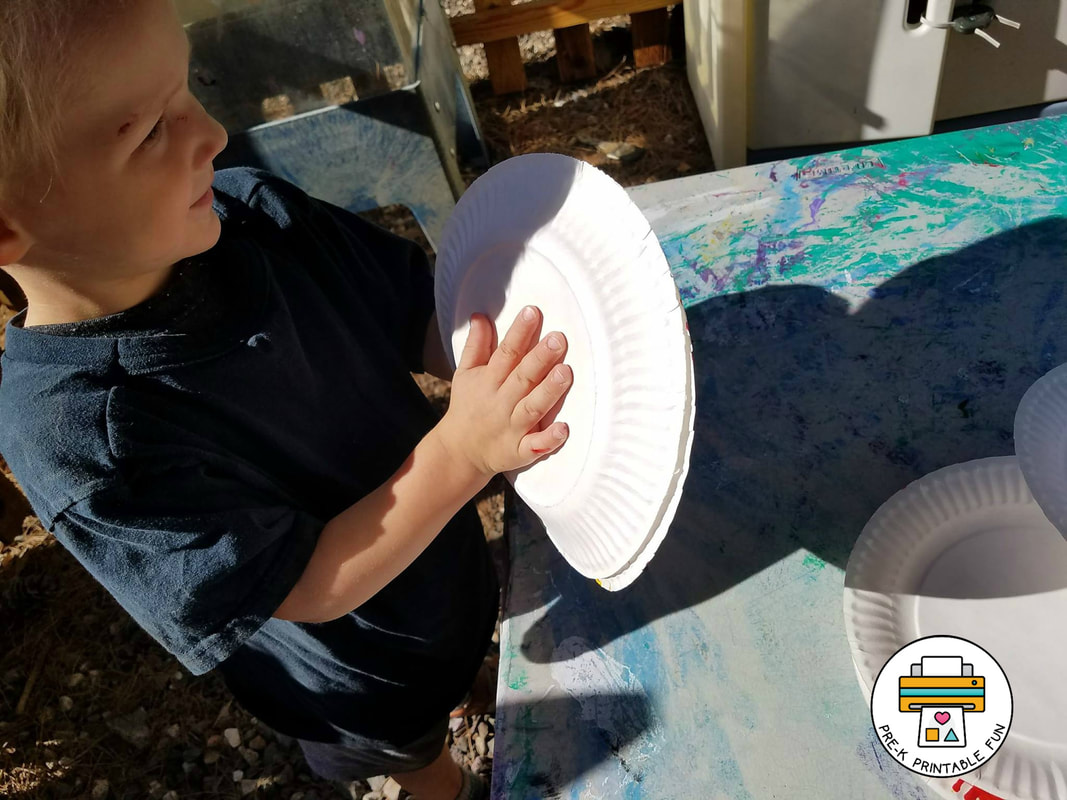
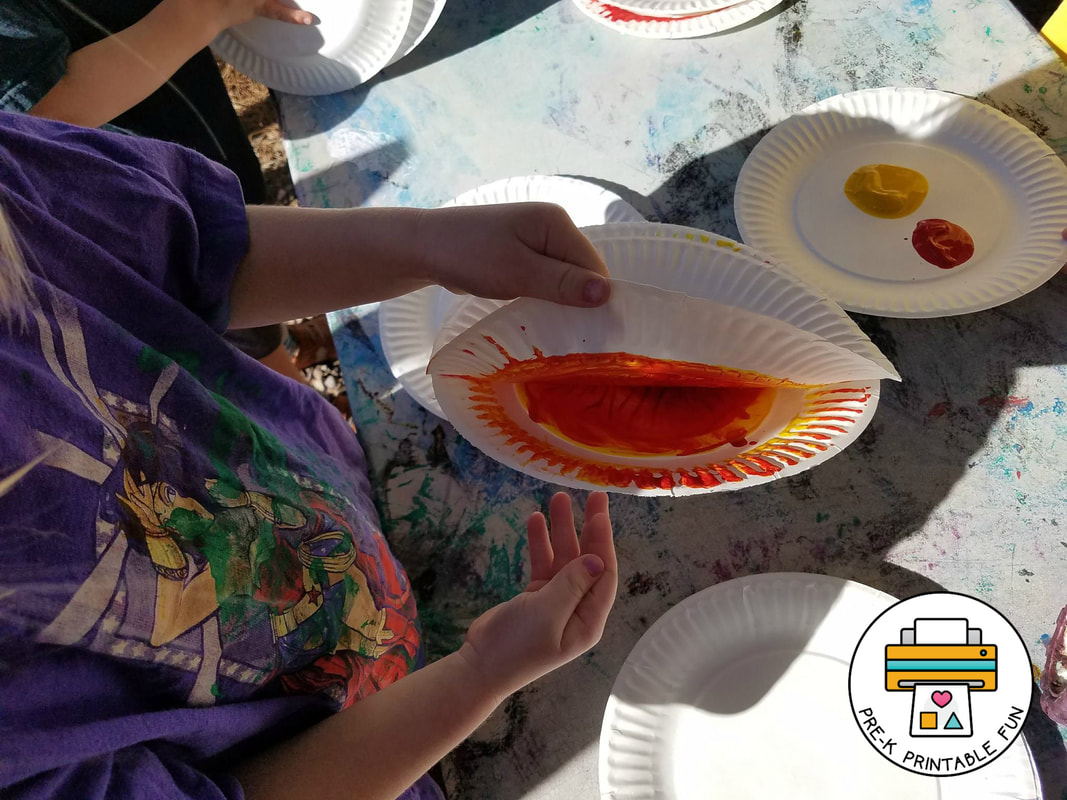
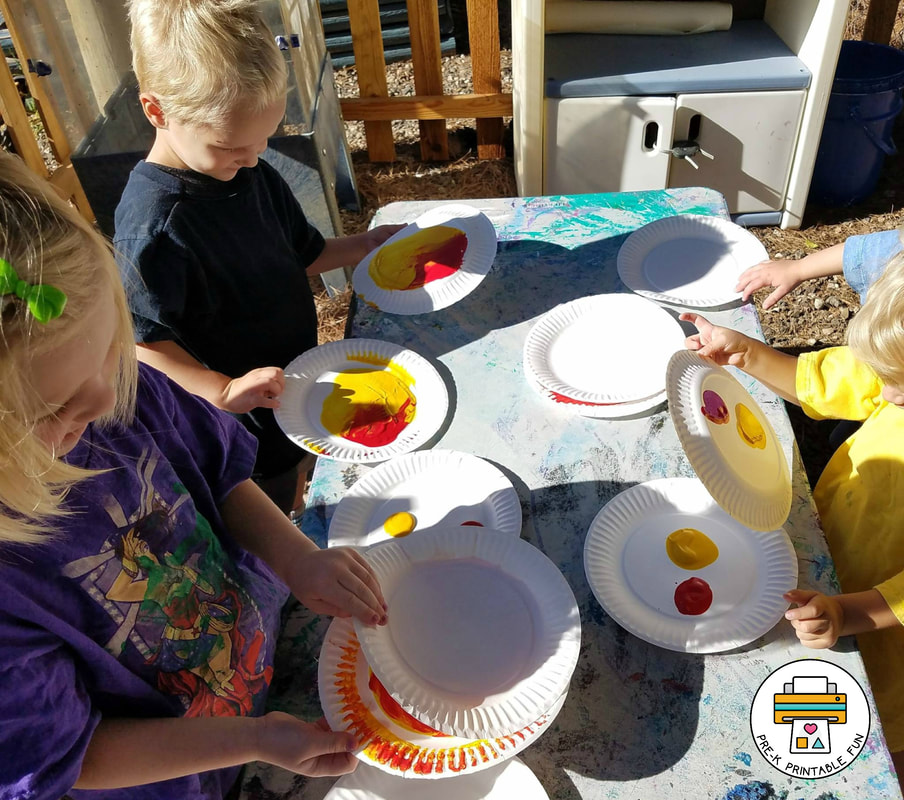
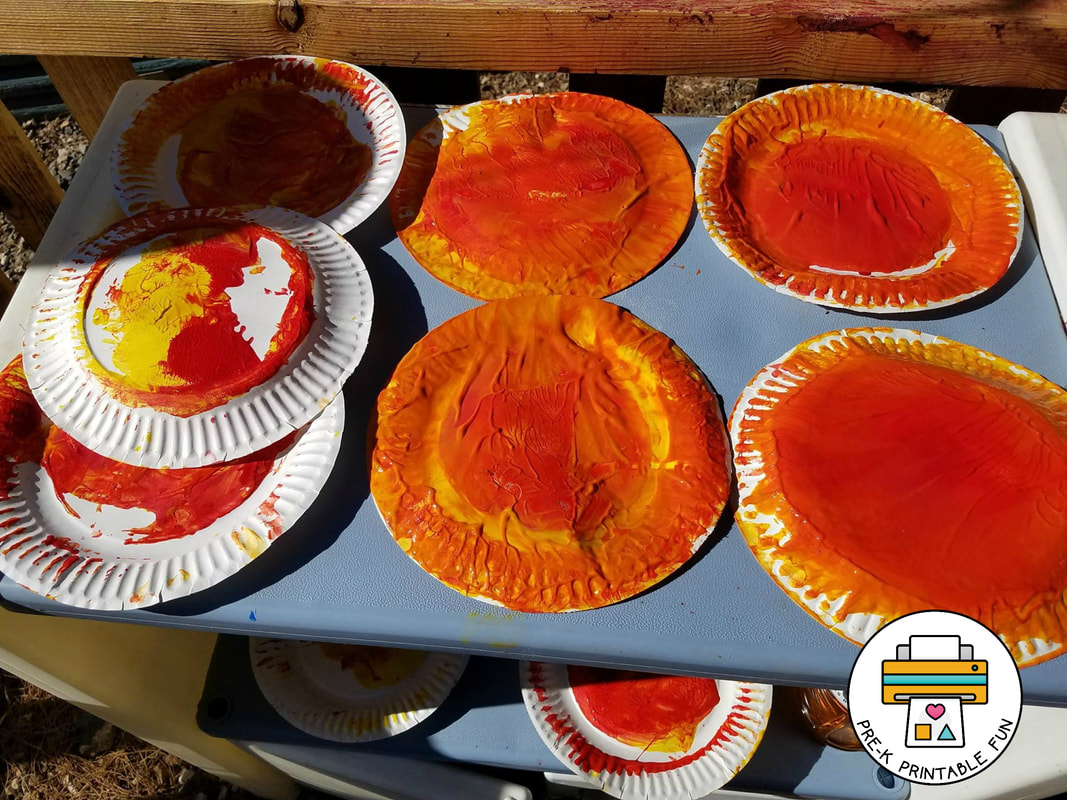
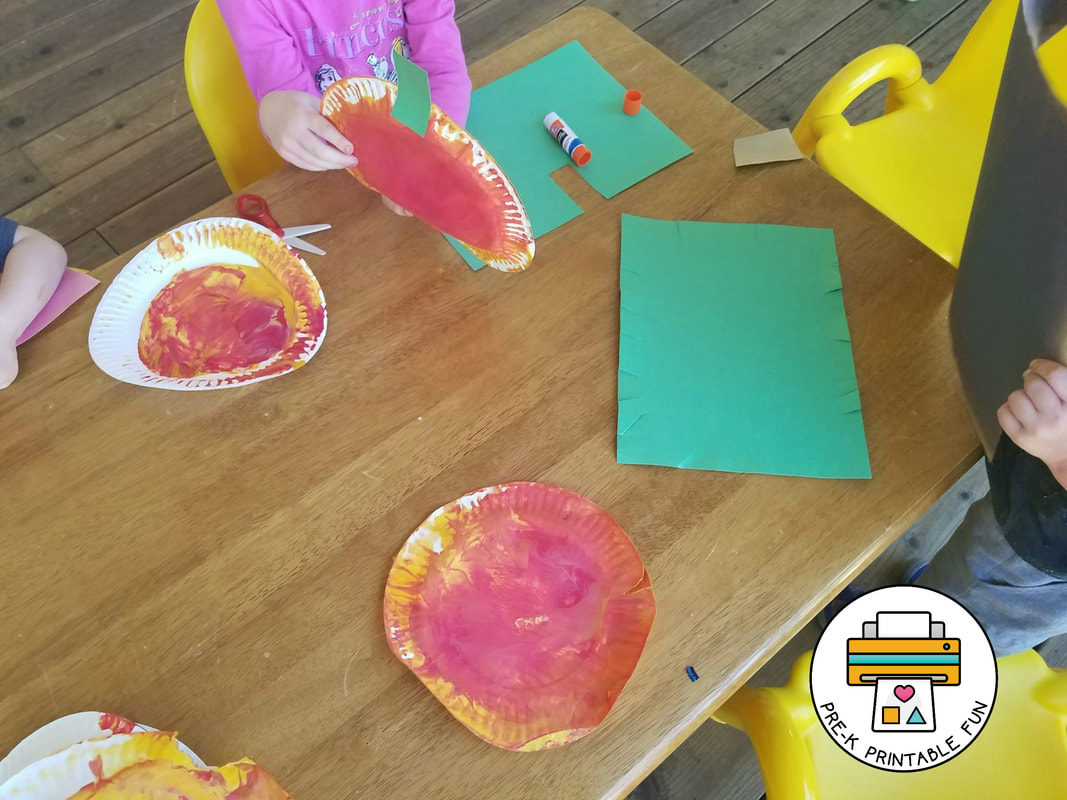
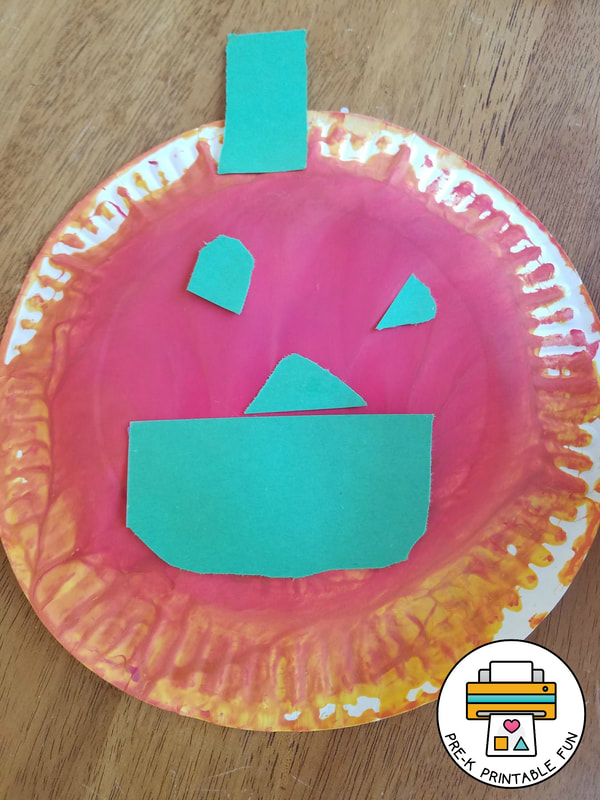
This fun activity is one of 200 hands on preschool activities featured in our Pre-K Play Ideas eBook! Purchase our eBook to have all of these activity pages at your fingertips. Before you get started Before you set out the materials for this activity, you may want to take some time to talk about the color orange. How many orange objects do they know? Demonstrate with your hands (or using clean paper plates) how they are going to squish and twist plates. You may even want to let them practice the process without paint. ready, set, go! Step 1: Add a squirt of red and yellow paint to one paper plate per child (*Tip add a liberal squirt to allow the plates to "glide" easier"). You can also squirt the paint into a cup and allow the children to spoon out the paint on top of their paper. *Tip for littles: You can squirt the paint onto a secured piece of paper instead of a plate. From here they can squish their plate onto the paint and twist it (like a steering wheel). Step 2: The children place their second paper plate on top of the pain and squish! Step 3: Encourage the children to twist the plates! This is quite the hand and wrist workout! You may notice this is easier for children with more developed hand strength. Step 4: The reveal! Have the children gently peel the top plate away to reveal their color change! After the reveal children may want to repeat the steps of squishing and twisting! They will enjoy seeing the changes to their masterpiece each time they do their reveal. This is a great time to allow them to explore the color mixing process by adding more paint, or creating an additional art piece using different colors. Step 5: Allow the plates to completely dry! This may take overnight depending on how much paint is used ;) Step 6: After the plates have completely dried, allow them to decorate their pumpkins with construction paper stems, and other accessories! Repeat this technique year round using different color paints, and twisting and squishing with different objects! Shout out A huge thank you to Building Blocks Family Childcare for trying out this activity and sharing their creations! Buy the eBook!Save time planning your hands on preschool activities! Find detailed directions for this activity + 199 more in our Pre-K Play Ideas eBook! Print each activity page, or access them digitally! |
What can I help you find?
Become a MemberGet Free
|
Learning Centers
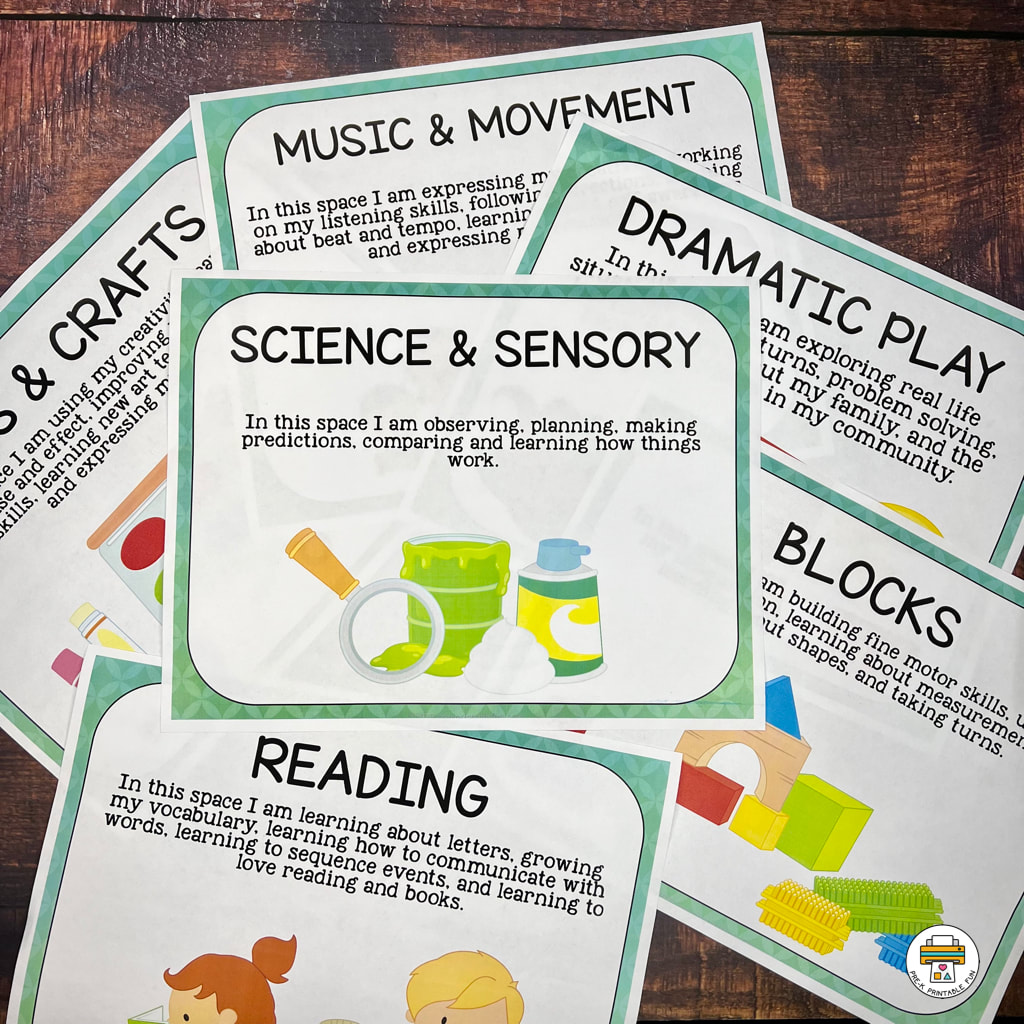
Preschool Learning Centers are commonly referred to as Preschool Centers, or Learning Spaces. These are activity areas dedicated to a specific type of of play and exploring a variety of topics and activities. Download our Free set of Center Signs!
|
Site
|
|



 RSS Feed
