|
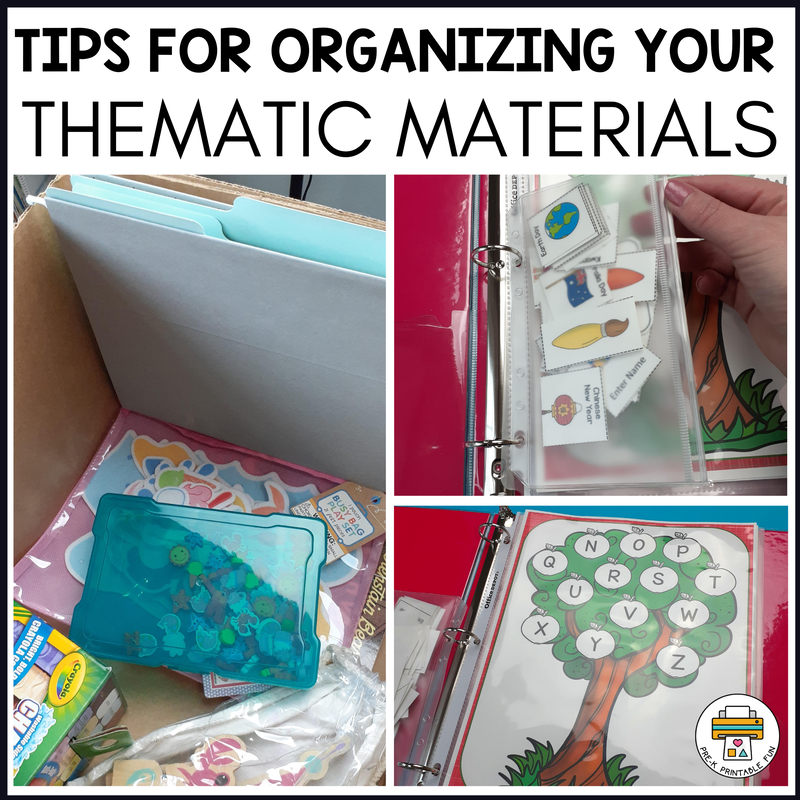
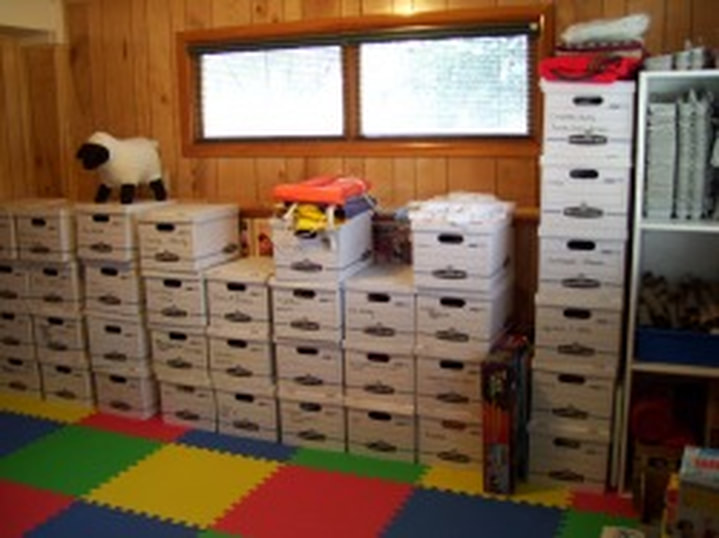
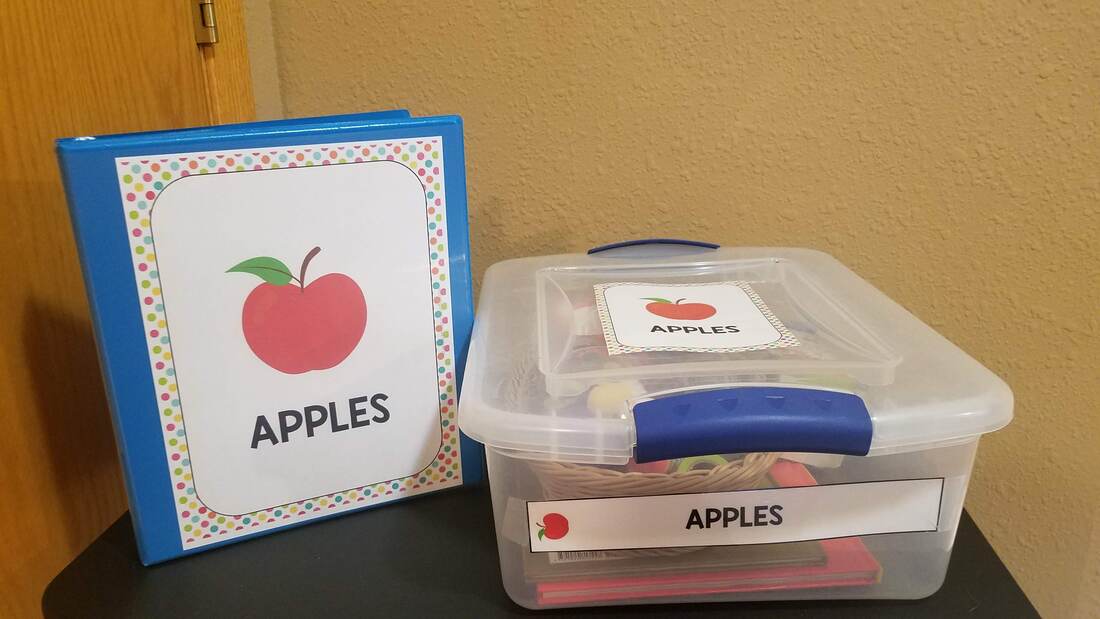
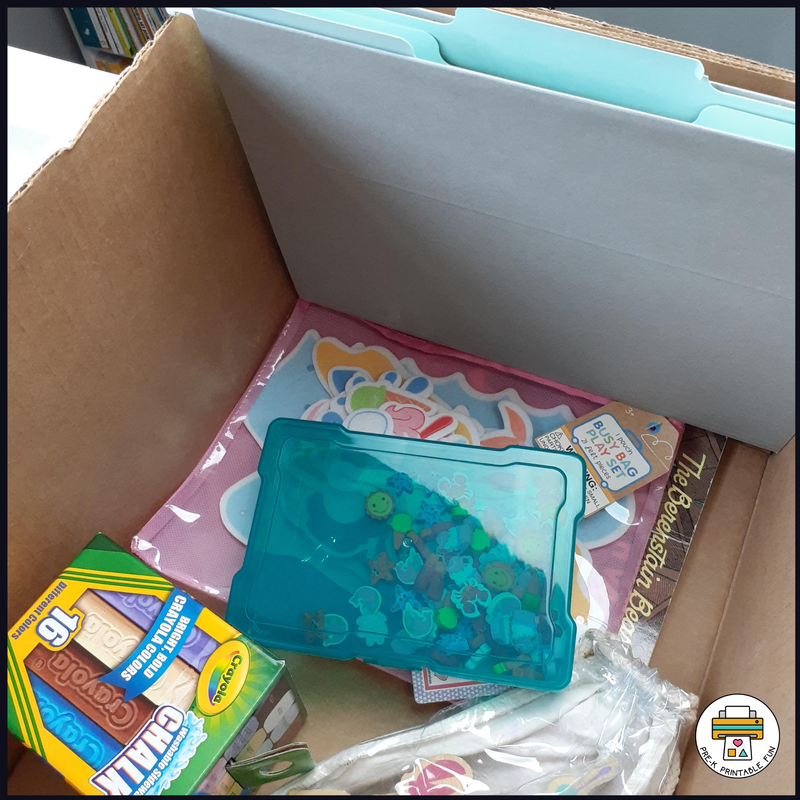
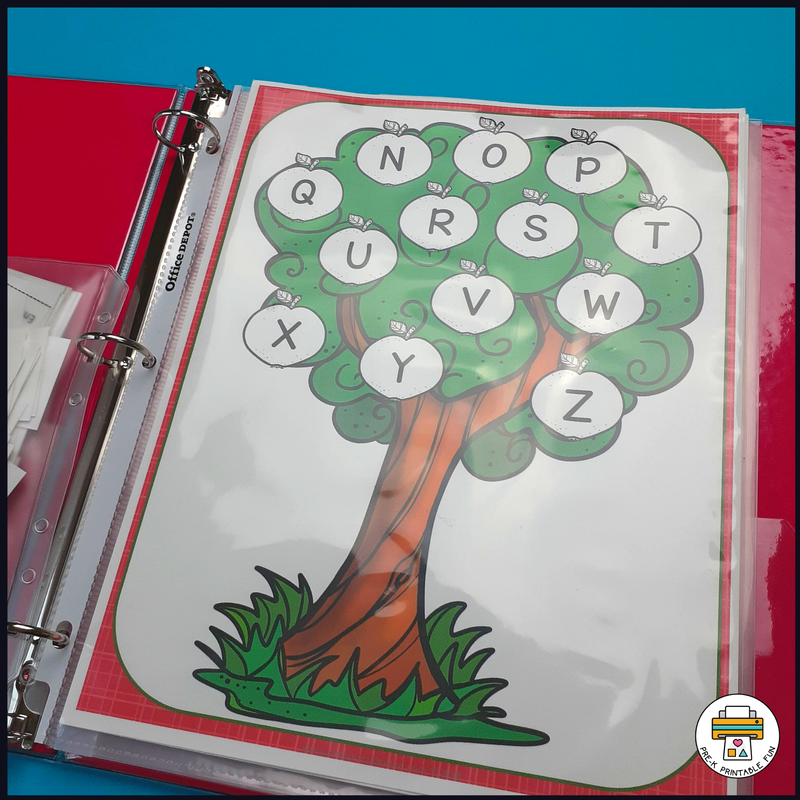
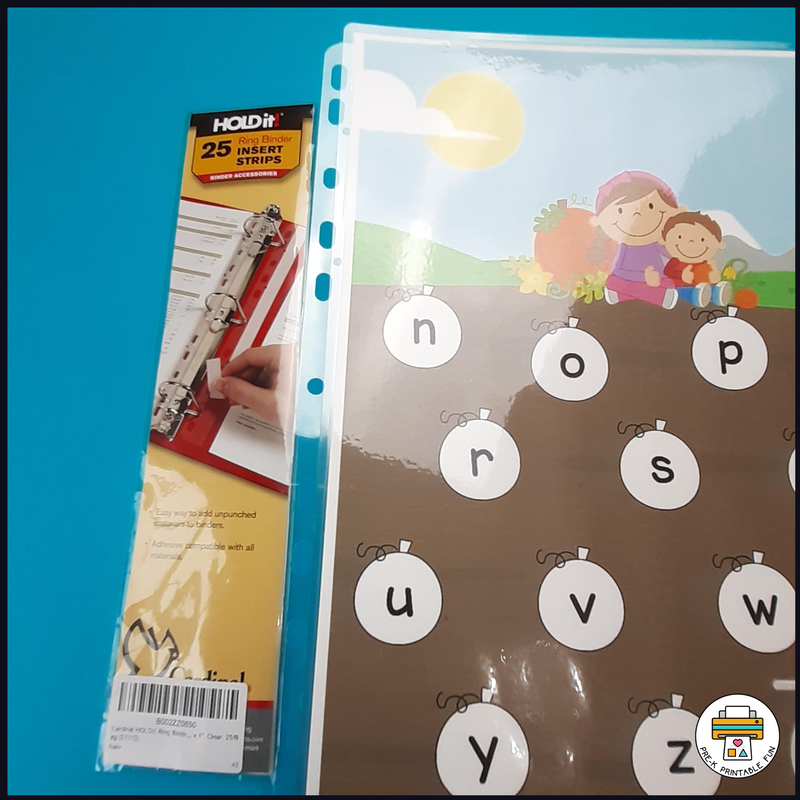
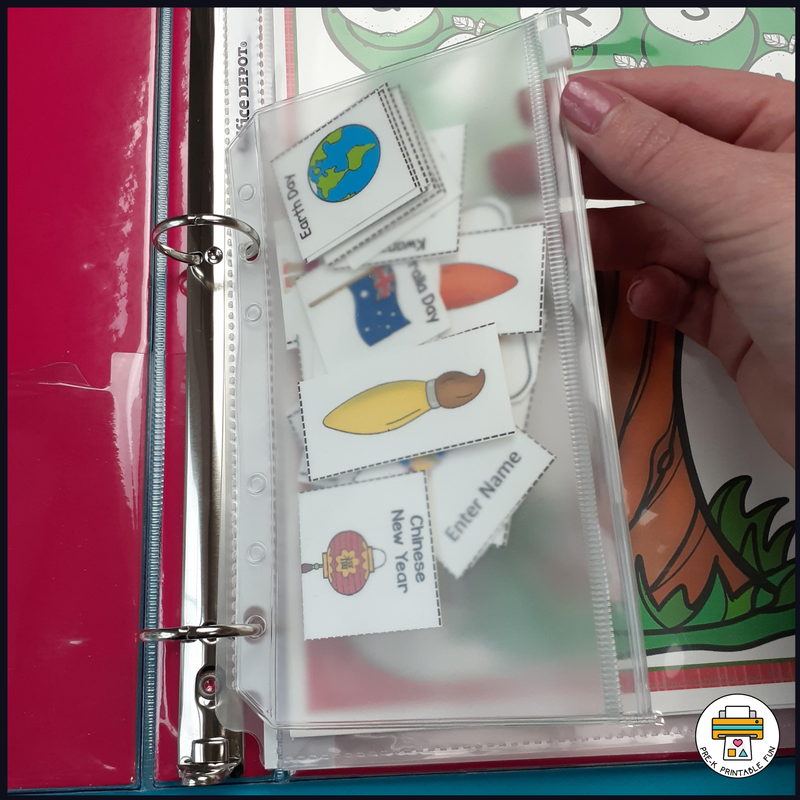
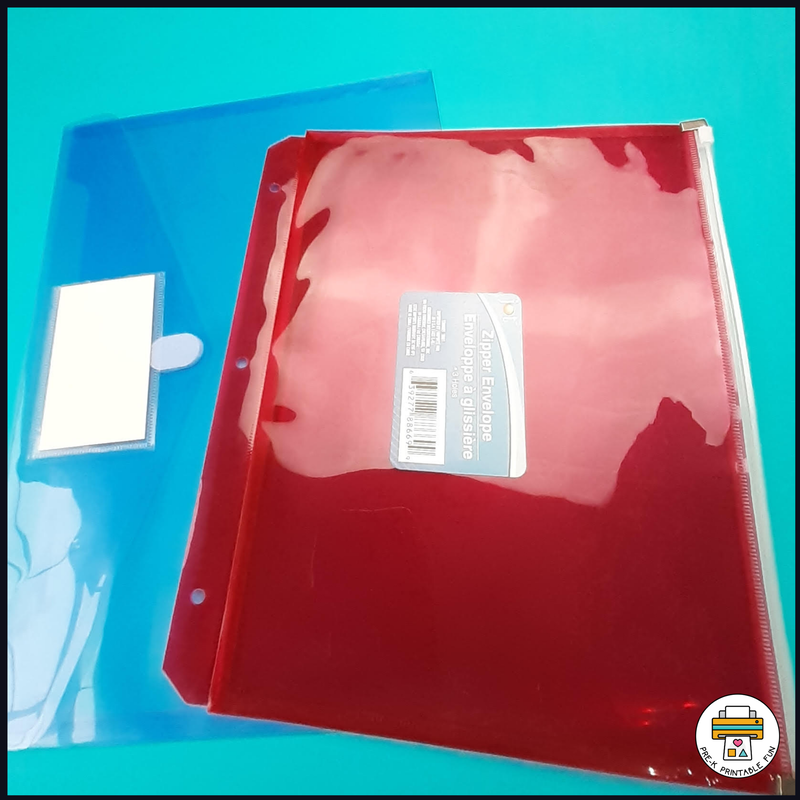
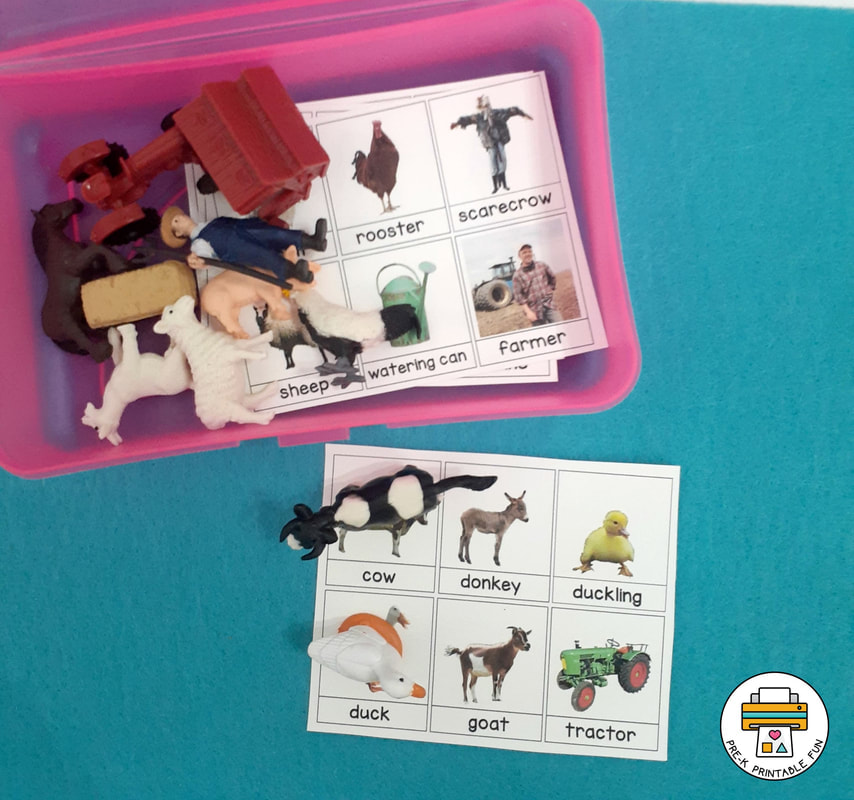
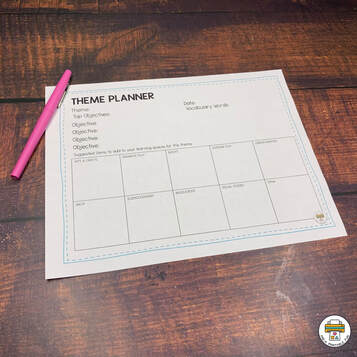
An important part of a Thematic Curriculum is rotating Theme related materials in and out of your space. If you have just started creating themed units (or even if you have been doing them for a while), you may notice your Theme Materials are starting to get out of hand. Getting it OrganizedBelow you can find some tips on how to organize your Thematic Materials to save you time and energy. Finding a home for everything ...The key to keeping your items organized is having a home for them. The amount of storage space you have will dictate how you organize your materials. Spend a few moments figuring out the best place to store your items. Do you have a small room that can be converted to a Storage/Resource room? Some space in your Garage? A spare closet? Look for under utilized space around your home-even under the bed storage boxes make a great option for storing your materials. If you have a large storage space, you will be able to create a storage box for each of your Themes. If you are short on storage spaces you may want to consider a monthly theme box, or even Seasonal Box. Rolling Drawer Carts, and Trofast storage units from IKEA are also great for storing thematic materials. Choosing a box and deciding how many.. I decided to create 52- individual theme boxes. Because I had so many Themes I knew I wanted something reasonably priced and something I could stack easily in my storage room. I decided to go with Bankers boxes . One of the other benefits of using Bankers Boxes was that I could also include a hanging file in each one to store my theme related manipulatives, felt stories, special toys and Printables. You will want to make sure you clearly write the name of each Theme on the outside of your box, or use some labels. If you are using plastic boxes you can add Masking/Washi Tape labels for easy removal. Stack your boxes by Season or Alphabetically (whichever way is easier for you). If you are going with Shelving, consider purchasing shelves and bins that are made for each other which will minimize the amount of wasted space on your shelf. Adjustable shelving is always best to maximize your space. It doesn't have to all fit in the box... Once you've decided on how much storage you have, you'll need to decide what types of materials you are going to store. I knew that I wanted to store Puppets, Puzzles, Toys, Educational Games, felt stories, Printable Games, and Craft Materials related to each of my Themes. I had many toys, dramatic play items, and books that I also used for multiple themes year round use. Rather than trying to fit all of these things in a box, I created separate storage options for these items. Books I preferred to keep my books on bookcases (Billy Bookcases from IKEA) Why re-invent the wheel right? These were kept away from the children in my storage room, Each week, I would rotate new thematic and "evergreen" books into the children's bookshelf. Sort your books in a way that makes it easiest for you to find them. I chose to sort my books by Season, and then by Theme. General books were sorted by Topic (Colors, Shapes, Letters, etc.). If you are storing them on shelves, you will want to keep them divided so you can easily find them. To keep them divided you can place your books in Magazine holders, laminate a paper divider or use labeled paint sticks as a low cost option to divide them. Some educators choose to store their Theme Books in a Box with the rest of their materials. Unfortunately, I found that many of my books were awkward sizes and that they didn't all fit in my boxes very well. In addition to pulling out Theme books I also used the same books for multiple themes and having to hunt through boxes wasn't effective for me. Using the same bankers boxes above, I also created Dramatic Play Prop Boxes. I also had separate storage for Construction/Small World Play Items, Literacy, Math, and Science games and Materials. Tips for Math and Literacy Centers If you are using file boxes it's easy to add hanging file to your box to store your math and literacy centers. If you are short on space you can also store them in other bins, or binders. If you are storing your centers in binders you can store non-laminated sheets in page protectors (to save on laminating). Laminated pages are a little too big to fit into most page protectors, but have no fear! Some options include purchasing larger page protectors (such as those made for sheet music), hole punching the laminated sheets, or attaching stick on ring binder strips. If all else fails you can simply slide them into the pocks of most binders. Small Zipper pouches are great for storing smaller pieces. Larger zipper pouches are great to keep everything contained. If you are lucky you can find some of these at the dollar tree and they are available online. Smaller Task Cards can be stored in photo or pencil boxes, and larger sheets can be reduced using this printing technique. Keeping track of what you have for each theme
Putting in the effort in the beginning to keep your materials organized will pay off in the end! Did you find this helpful? Let me know if the comments!
|
What can I help you find?
Become a MemberGet Free
|
Learning Centers
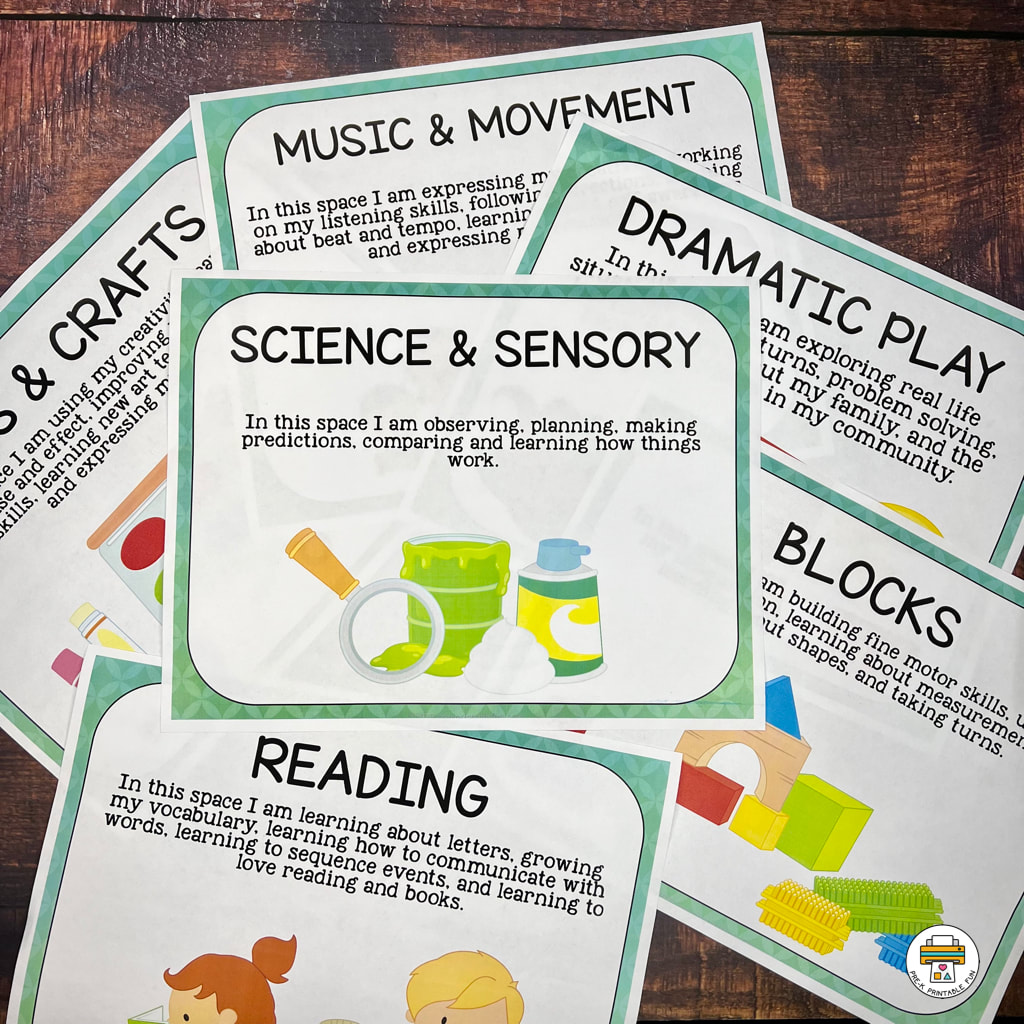
Preschool Learning Centers are commonly referred to as Preschool Centers, or Learning Spaces. These are activity areas dedicated to a specific type of of play and exploring a variety of topics and activities. Download our Free set of Center Signs!
|
Site
|
|


 RSS Feed
