
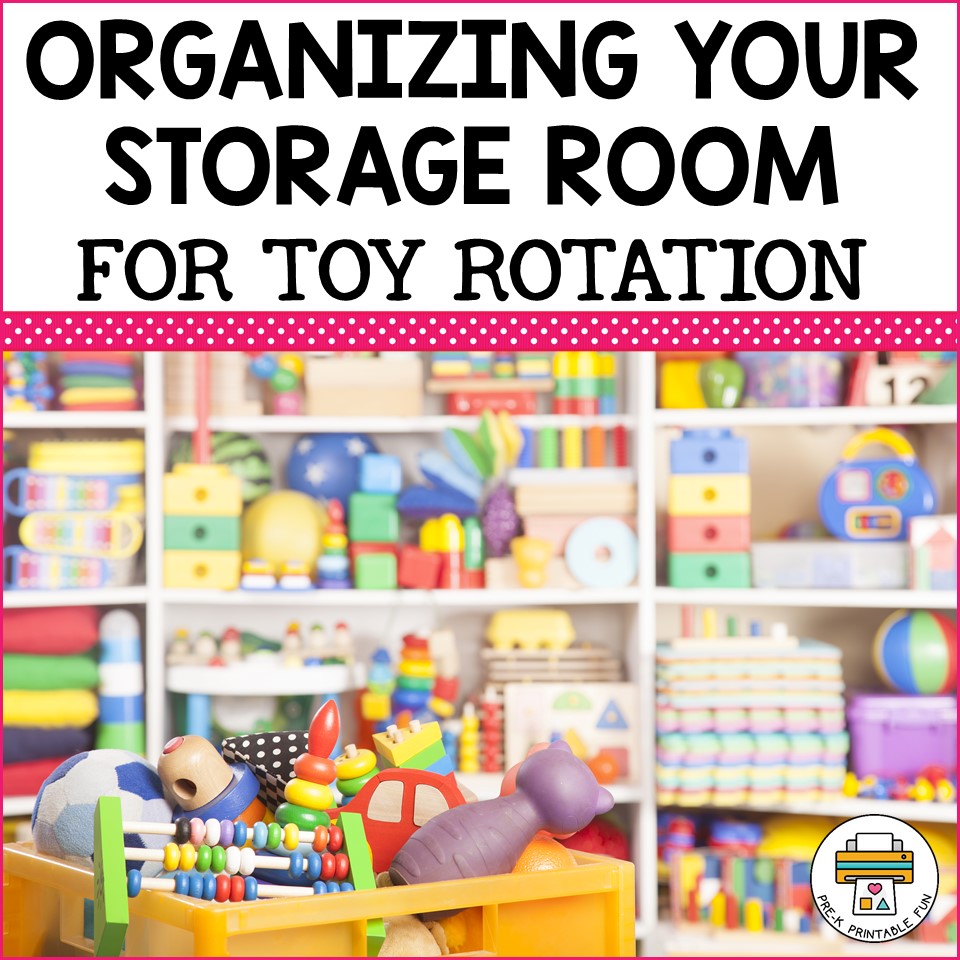
 Are you drowning in a sea of toys in your childcare facility or preschool classroom? Fear not! Toy rotation is the superhero solution you've been waiting for. By organizing your storage space effectively, you can revolutionize playtime for your young charges. Let's explore how to implement seamless toy rotation to keep your students engaged and your classroom clutter-free! New to toy rotation?Too many toys can be overwhelming to both you, and the children in your care. Toy rotation is the process of setting out a minimal amount of toys, while storing the rest and rotating them in an out of your space. There are many benefits to toy rotation including: more engagement from having less toys out, children use their creativity to reinvent more, having fewer toys out will make it easier for children to clean up independently, and they will find it easier to make choices without feeling overwhelmed. Creating a space for storage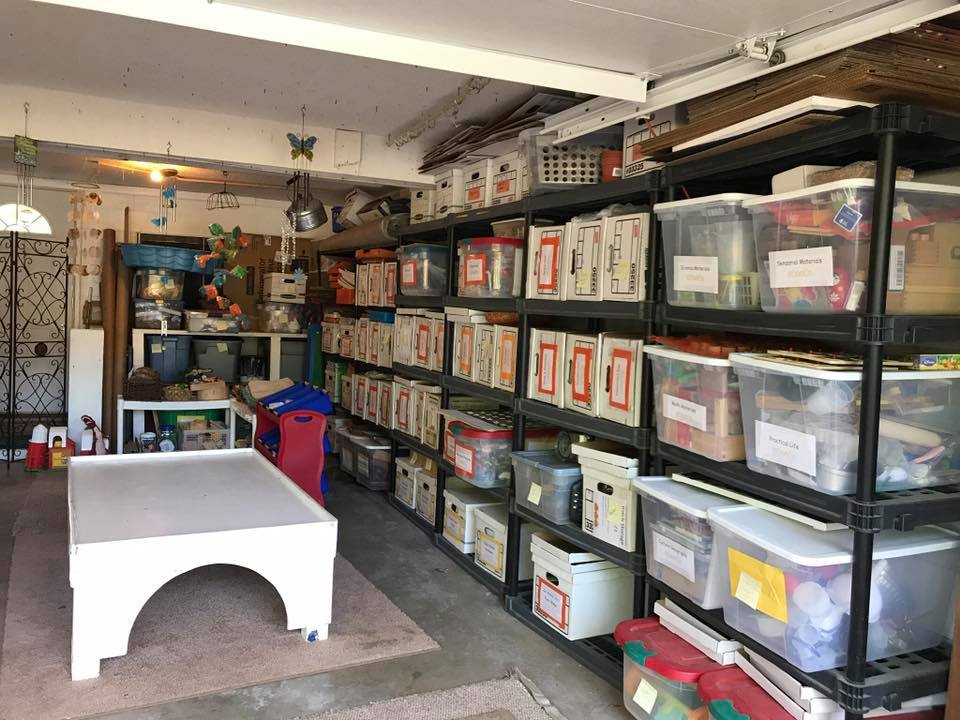 Jen H. Having storage space for excess toys, is a key element of the toy rotation process. Consider converting a small room to a storage room, adding a few shelves to your Garage, converting a closet, or even using an under the bed storage container if you are short on storage space. If you plan on installing new shelves I recommend an adjustable shelving unit, which will allow you to reduce the amount of wasted storage space. If you plan on using fixed shelving-hold off on purchasing storage containers until you see how many you will need, and measure to see how many you can fit in your storage space. 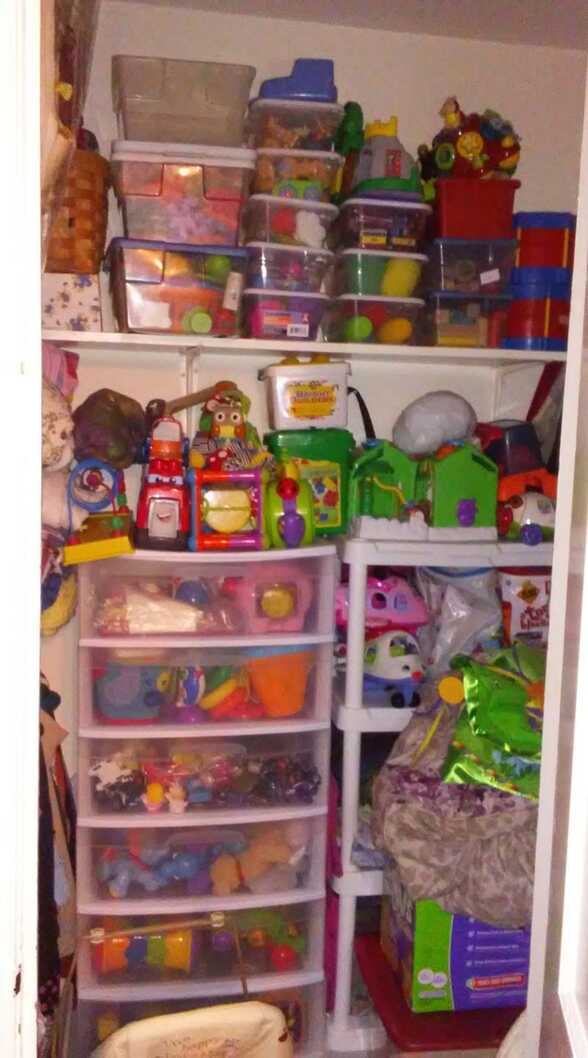 Danielle C. DeClutter FirstThe first step to organizing is to declutter. Go through ALL of your toys and let go the items you don't need, want, or those that are broken or never used. Donate these toys to another program, or sell them on a local buy sell site. It's time for sorting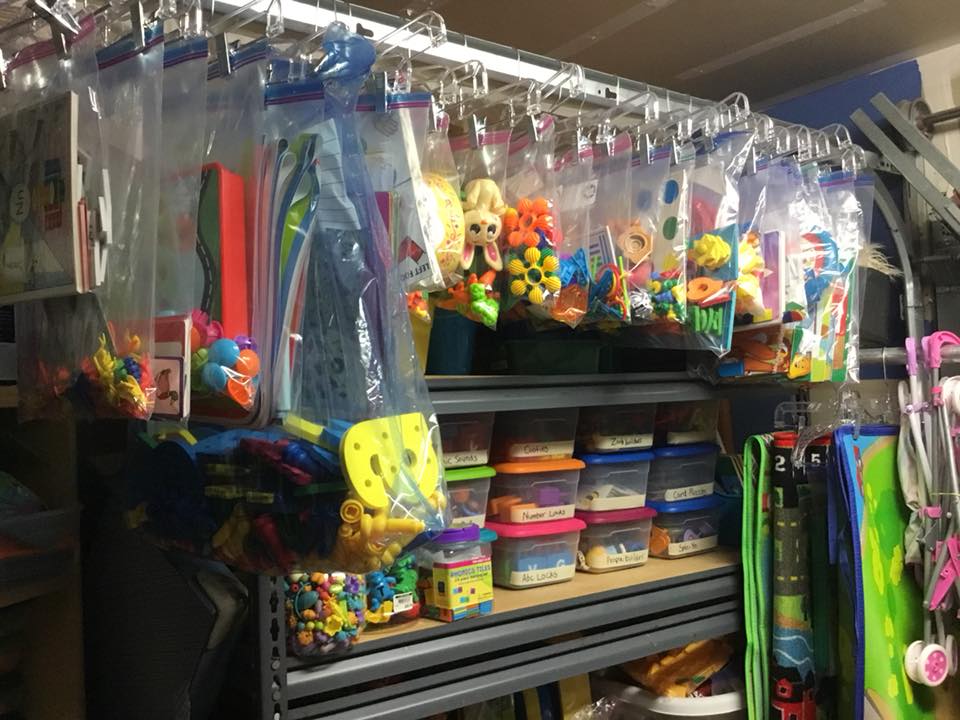 Jen H. Once you've decluttered all of your toys, you'll need to sort them. This is also a fun activity for the kids, so be sure to include them in the process wherever you can. Toys come in all shapes, sizes, and levels of messiness. One suggestion is to sort them by "Learning Center" categories like dramatic play, cognitive/fine motor toys, construction toys, and gross motor toys. This makes it easier to find what you need when it's time to rotate. Dramatic Play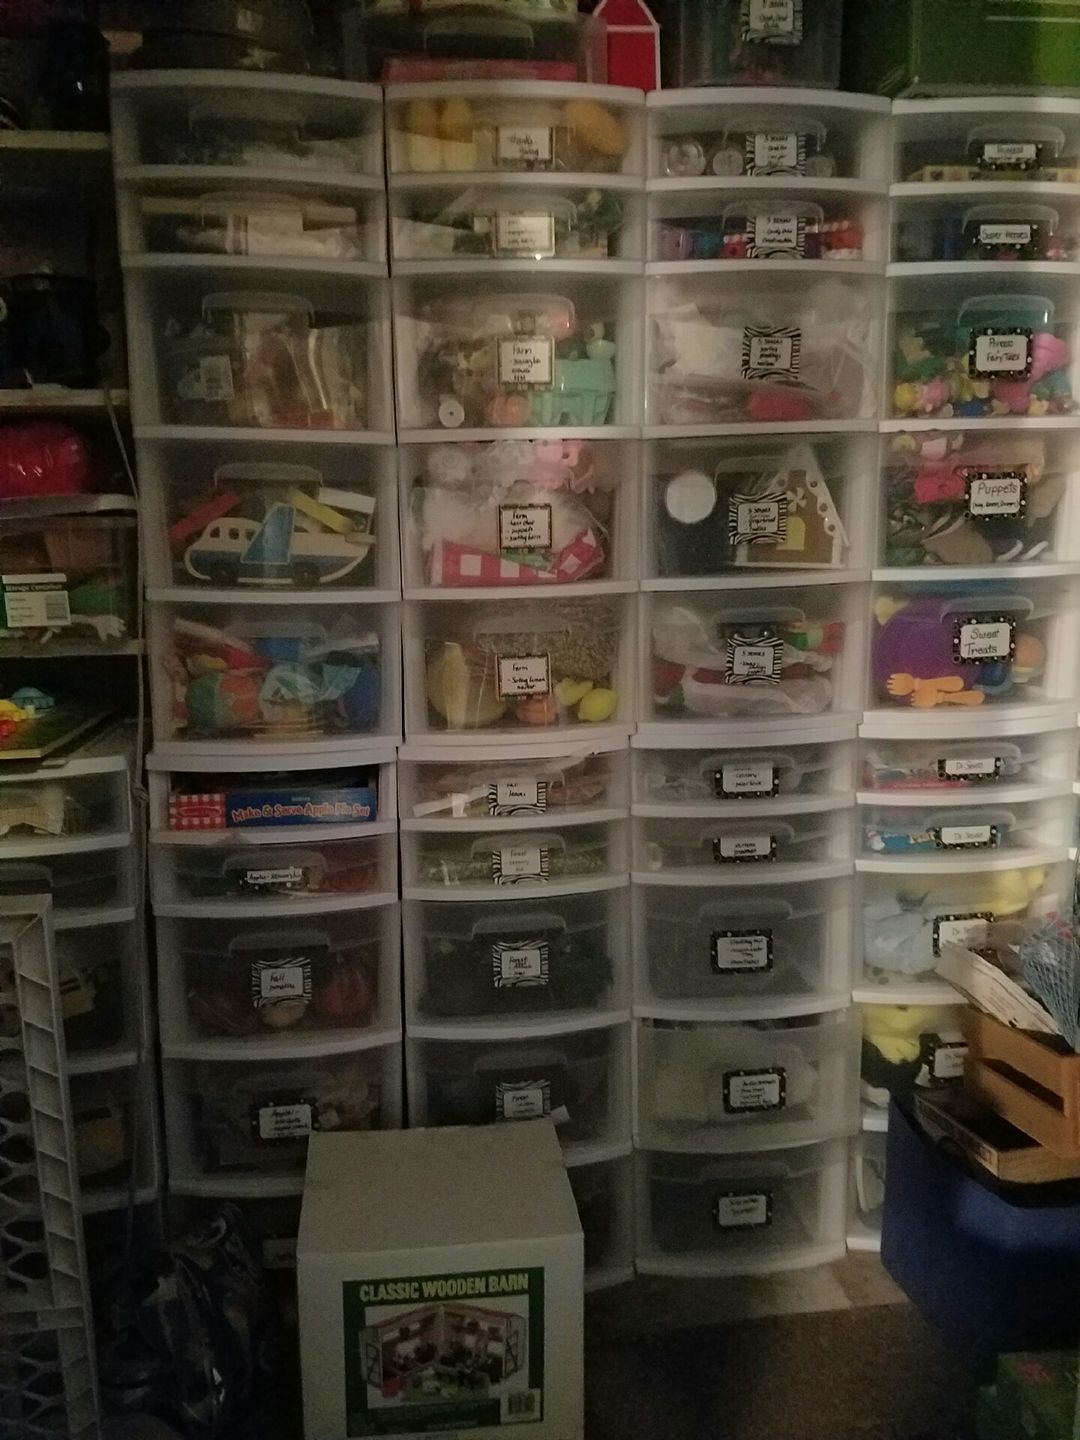 Heather H.
Cognitive/Fine Motor Toys/Manipulatives/Loose Parts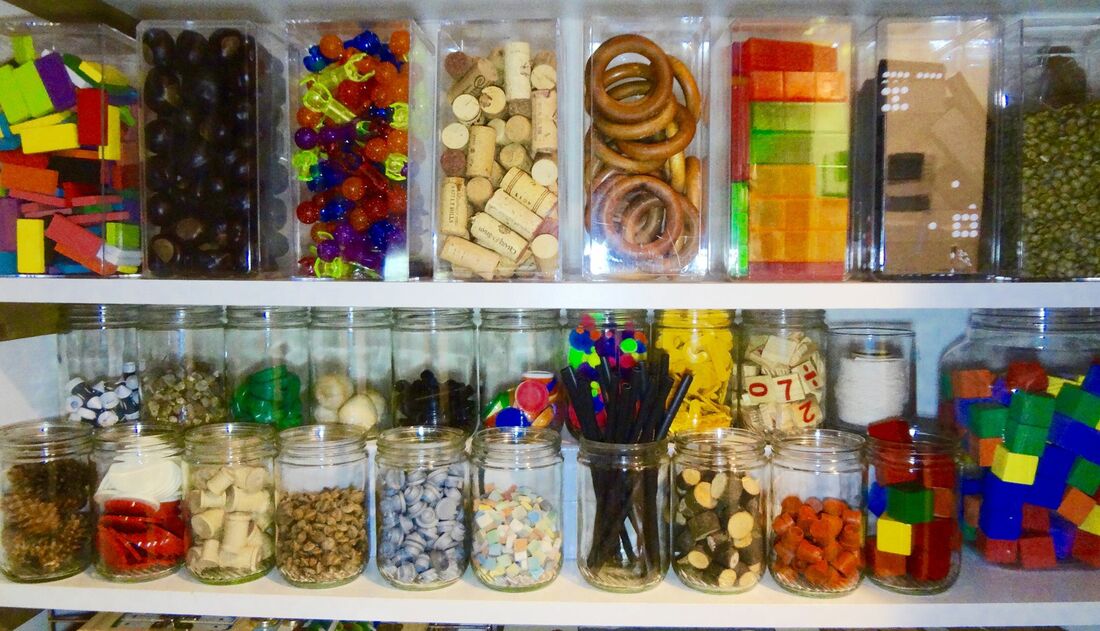 Amanda W.
Construction and Small World Play Toys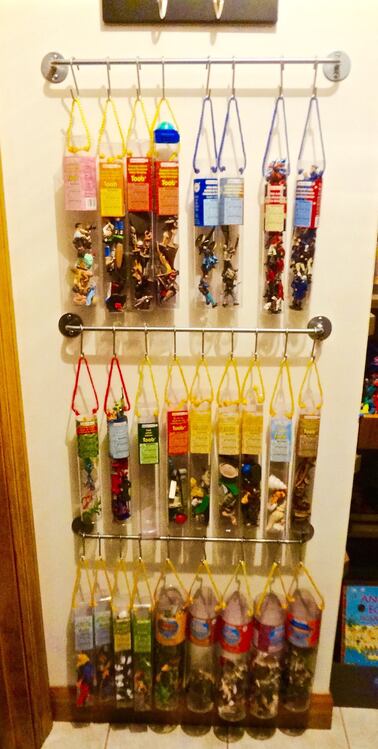 Amanda W. Construction Toys and Small World Play
This VESSLA Storage Crate from IKEA is one of my favorite containers for Blocks. It's study, has a lid, and it's casters make it easy to move in and out of your storage space without even lifting. 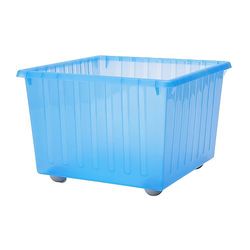 Gross Motor Toys
Inventory what's leftNow that you've decided what you are keeping, and have it organized, it's time to create an inventory list. Create an inventory list of what you have, and label your toys. For each item in your inventory, include relevant details such as item name, description, quantity, condition, and location. This information helps you identify and locate items quickly when needed. These lists are also great to:
Decide on your rotationNow that you've organized your space, it's time to decide on your toy rotation. First decide on how often you plan to rotate items in your space (Weekly, every other week etc.). After that look at your schedule and choose a day that works best for you. I preferred to do this right after work on Friday, so the learning spaces were fresh and ready on Monday morning. Set a date to De-Clutter your Storage Room Make de-cluttering a regular part of your routine by scheduling periodic maintenance sessions to keep your storage room organized and clutter-free. Set an annual date to de-clutter your storage room. Combine it with an annual spring or summer toy sale, and use the funds to replace toys and educational materials that are no longer being used in your program. With a bit of planning and organization, toy rotation becomes a breeze for childcare providers and preschool teachers. By taking control of your storage space, you'll not only save time and reduce clutter but also cultivate a more enriching play environment for your young learners. You might also like:Download this free set of Binder Covers
|
What can I help you find?
Become a Member
Get Free
|
 RSS Feed
|
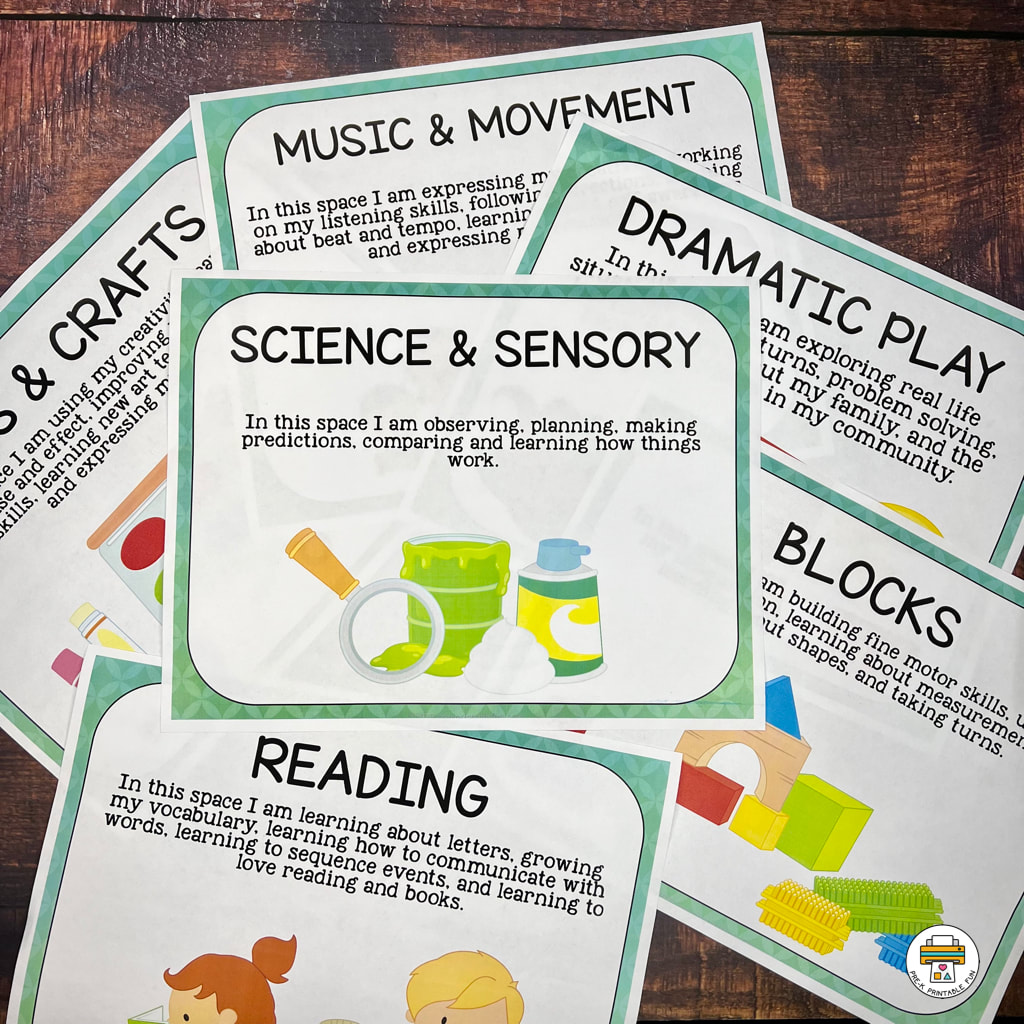
Learning Centers
Preschool Learning Centers are commonly referred to as Preschool Centers, or Learning Spaces. These are activity areas dedicated to a specific type of of play and exploring a variety of topics and activities. Download our Free set of Center Signs!
|
Site
|
|