
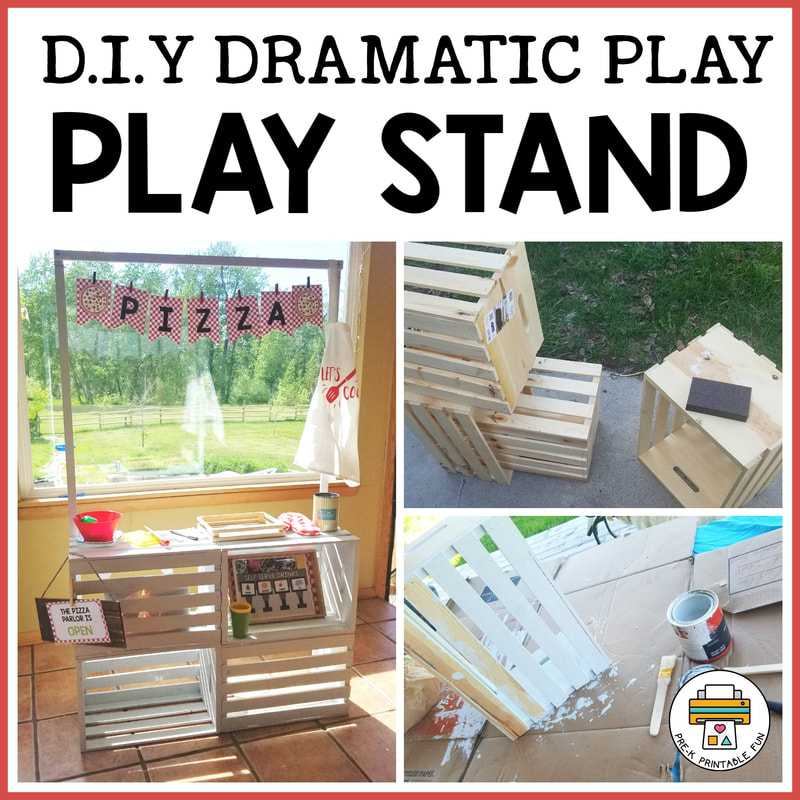
 DIY Dramatic Play StandCreate your own Dramatic Play Stand to set up endless fun preschool dramatic play invitations! Dramatic Play is an important part of the education of young children. When children are in engaged in dramatic play they are pretending and developing essential social-emotional skills. They are also practicing many other important skills such as math, literacy, and physical development. Below we're sharing a few tips when it comes to building a DIY dramatic play stand. Many early childhood settings have a basic housekeeping area with a kitchen set, table, dress-up, and baby dolls. These materials are essential to early childhood classrooms and should always be available. Setting up Dramatic Play invitations is a fun way for kids to delve deeper into a topic or theme, and offers many new ways for them to practice skills. One basic item that can be used in multiple Dramatic Play invitations, is a simple play stand. Unfortunately it can be difficult, and pricey, to find a basic dramatic play stand that can be transformed into any theme. This tutorial will show you how to create a dramatic play stand that can be used to set up many different themes! This project is simple and just takes a bit of time. This tutorial will tell you all you need to know to be successful, including tips from the blunders I made while creating mine! If I can do it, so can you! Materials:Before you get started, you will need to do a little shopping or scavenging for materials. You can purchase all the materials for this project or you can possibly find them all used or have them donated! Depending on how much time you allow for planning before your project, and the resources you have at hand, this project could cost anywhere from $0-60. Even if you buy everything new you are still creating something custom for your program for less than you can buy many quality dramatic play stands new. For this tutorial, I did a mix of purchasing new materials (some on sale) and finding materials to use around the house. I spent around $30 total. What you need:
The wooden crates can be the most expensive part of this project. Ask around to see if anyone has any of these laying around that they would be willing to donate for the cause! You can also try to ask specialty wine stores as wine is sometimes shipped in wooden crates. If your crates are not all close to the same size you still may be able to get them to work with a little creativity. If you are going to buy them new, and are patient, you can purchase them from a craft store one at a time using a 40% off coupon (at the time of my purchase they were $12.99 original price) Step 1: Prepare for the projectGather your materials, make sure everything is clean and ready to go. Before I start a project like this I like to determine where it is that I will place my items to dry, where I will work on the project, and where I will store materials if I have to stop and come back to the project. This helps me to be successful overall. Peel any stickers off of your crates and wood and clean any residue, allow time to dry. Step 2: Sand all the wood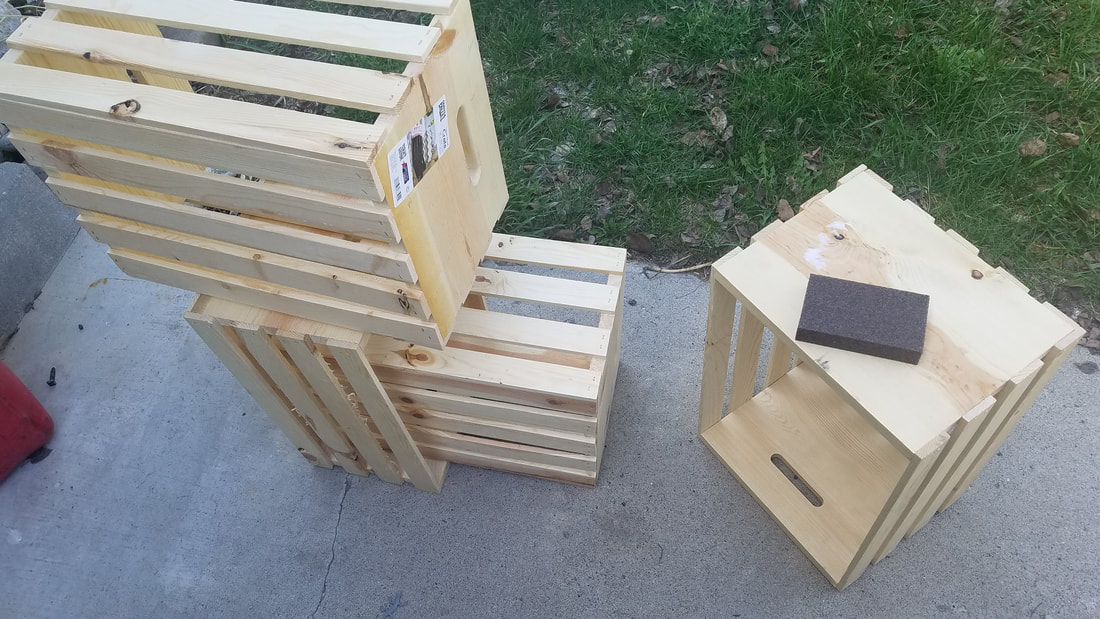 You will need to sand the wood in order for the paint to stick well and to remove any rough pieces. On my crates there were a lot of rough spots that needed to be smoothed out. Don't skimp on this part! This will help painting go smoother. In addition to your crates, make sure to sand your frame pieces. Step 3: Time to Paint!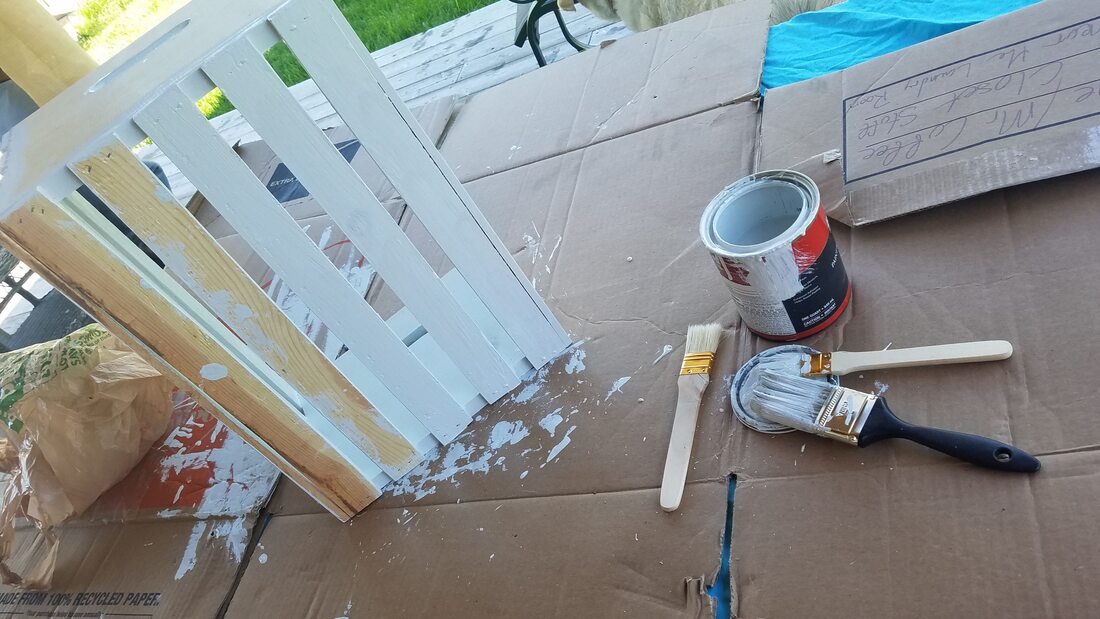 You can paint these in whichever order you choose, however you will need to paint in stages so you can turn it over after letting one side dry. Here are a few tips I wish I knew when I started:
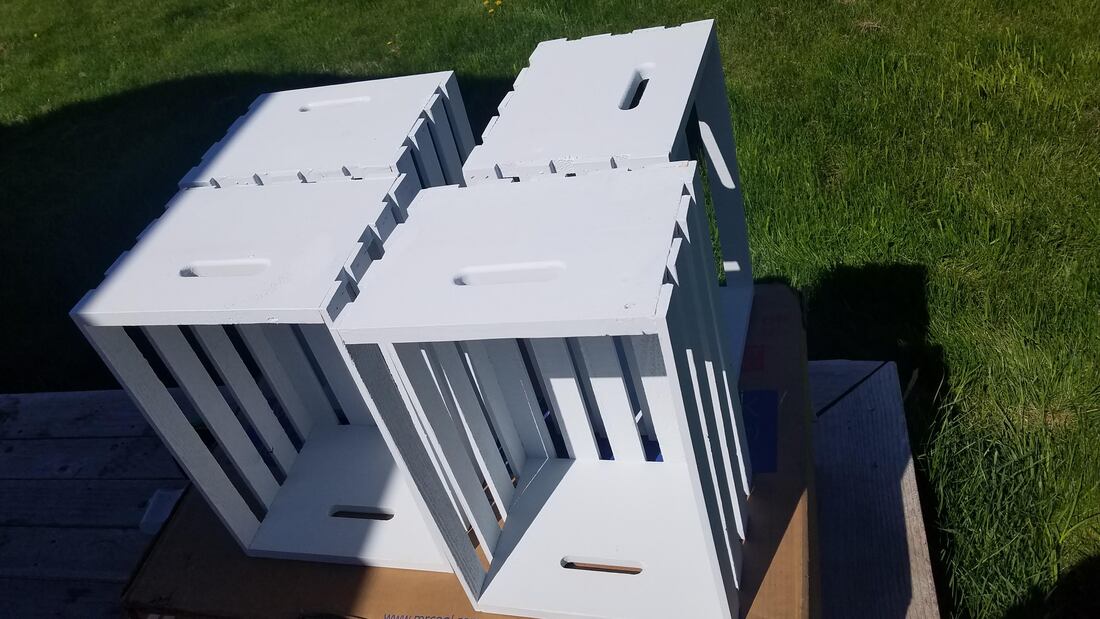 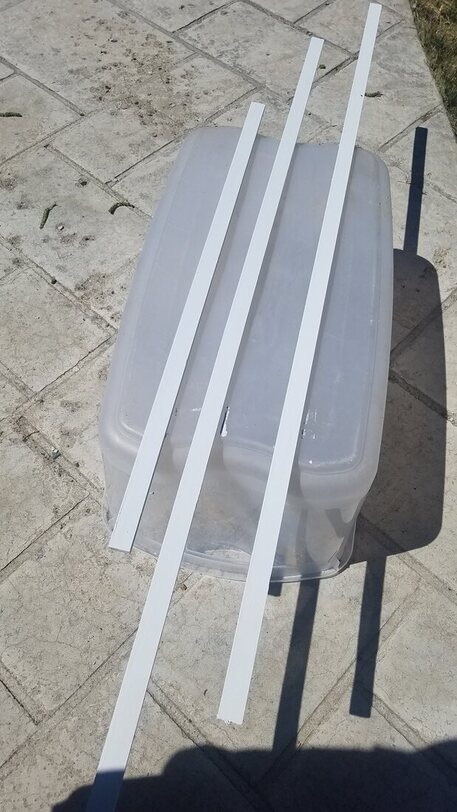 **Don't forget to paint your frame pieces! Step 4: Assembly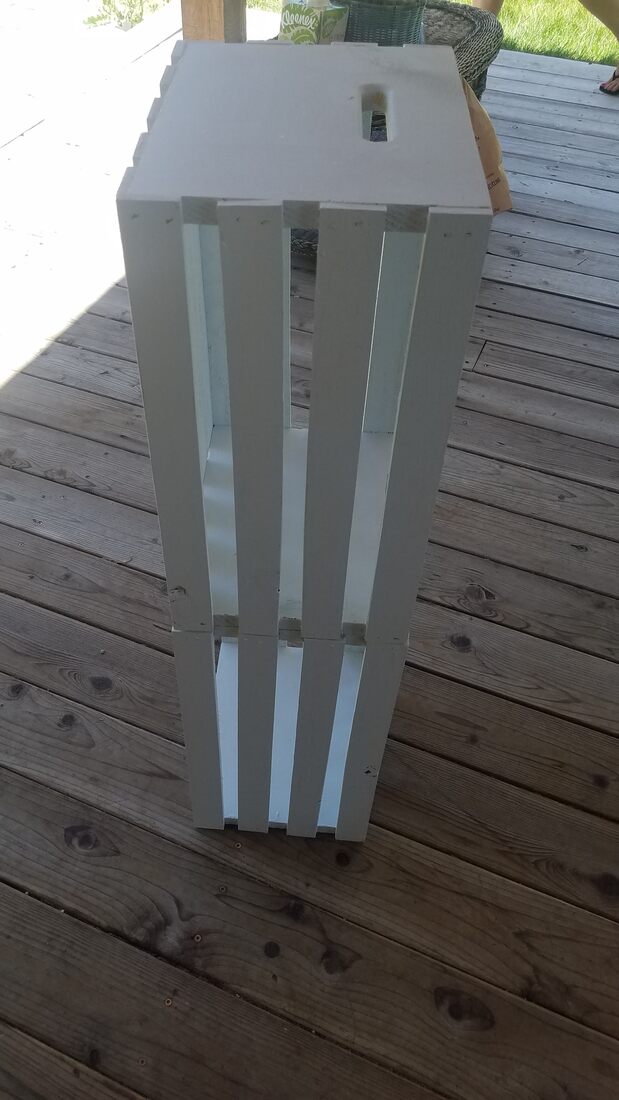 Now that you have all your pieces painted and dry, it's time to assemble! You may find your crates are not exactly the same size or made the same, I purchased 4 "identical" crates and mine were each a little different, so they didn't quite line up exact. I was a little worried about that at first, but it turned out just fine. I wanted mine so they made a pattern facing in and out (just right for customers to access items on display and clerks to store their supplies behind the register). Line your crates up and screw them together, seems simple, right? Well it is, mostly. I do wish that I had used a drill bit to make a pilot hole. Unfortunately, my wood split a little because I did not make that pilot hole (see photo below). But, even with that little split it's just fine, I made sure it was safe for use and I can fix it easily if I choose. 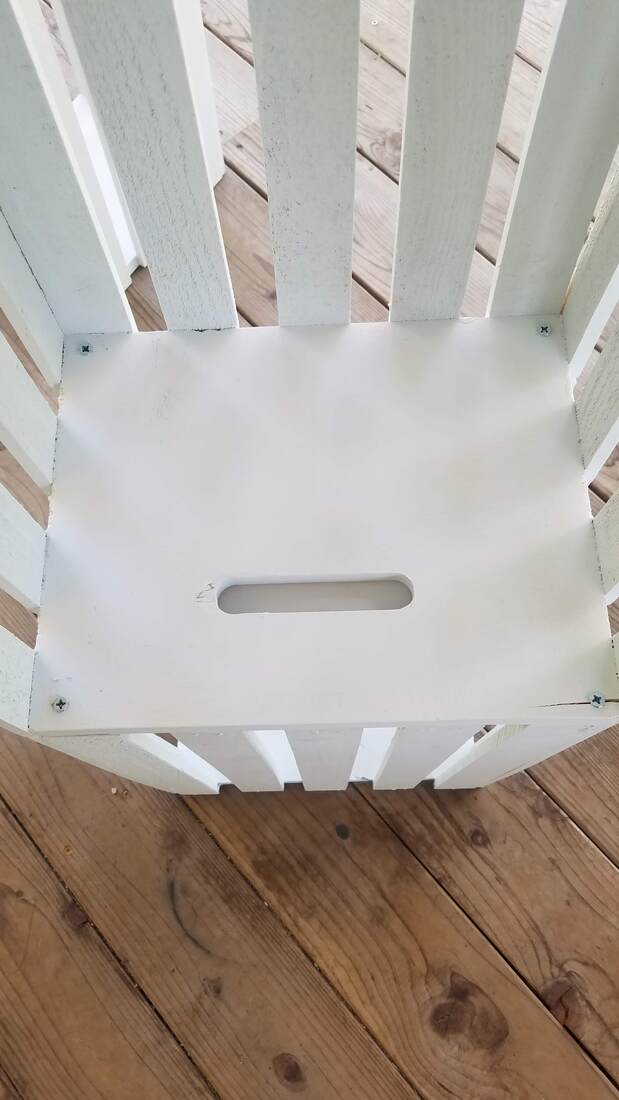 This was my big "oops" but it still turned out just fine! I added one screw to each corner of the side of each crate. 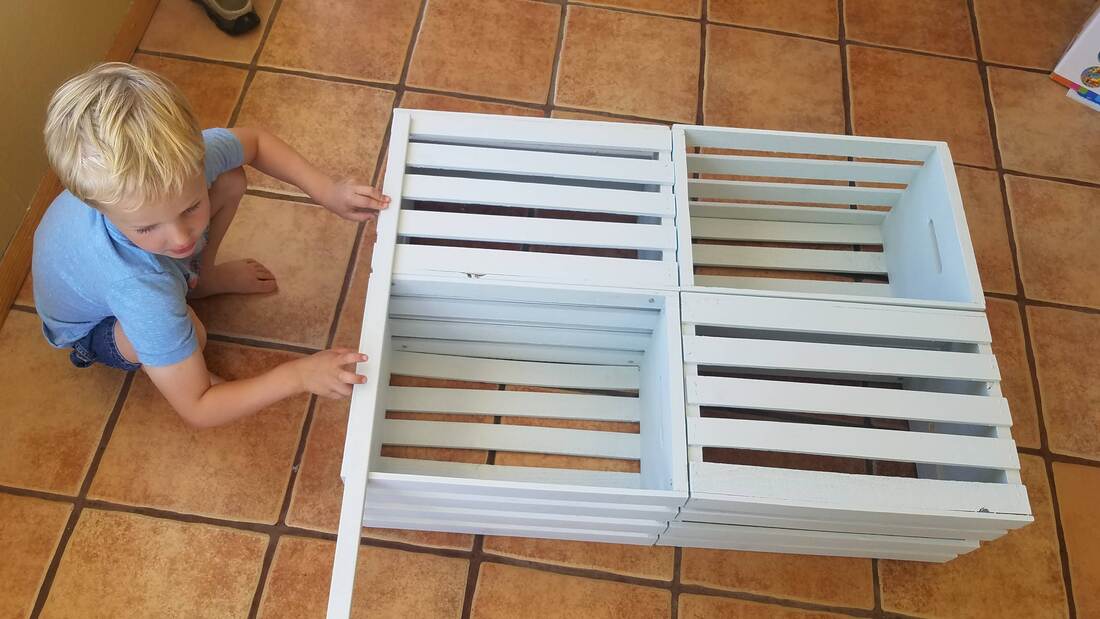 Once all the crates are screwed together, you can add on your frame. For my frame I picked up some thin and long wood from Home Depot and cut it right there at the store, saving me from having to break out the saw. For the height I cut the two side boards to 60" which seems like a great height for preschoolers and allows plenty of room for signs. For width, I measured the width of my stand, which was 36" and cut a piece to that size. Lay the crates down as shown in the picture above, and place the frame piece on like so, then use a drill to screw the frame to the stand. Repeat for the other side. Next, attach the top piece of the frame, you will need a smaller screw for this part. I'm not sure what size I used as I just pulled one out of the toolbox. 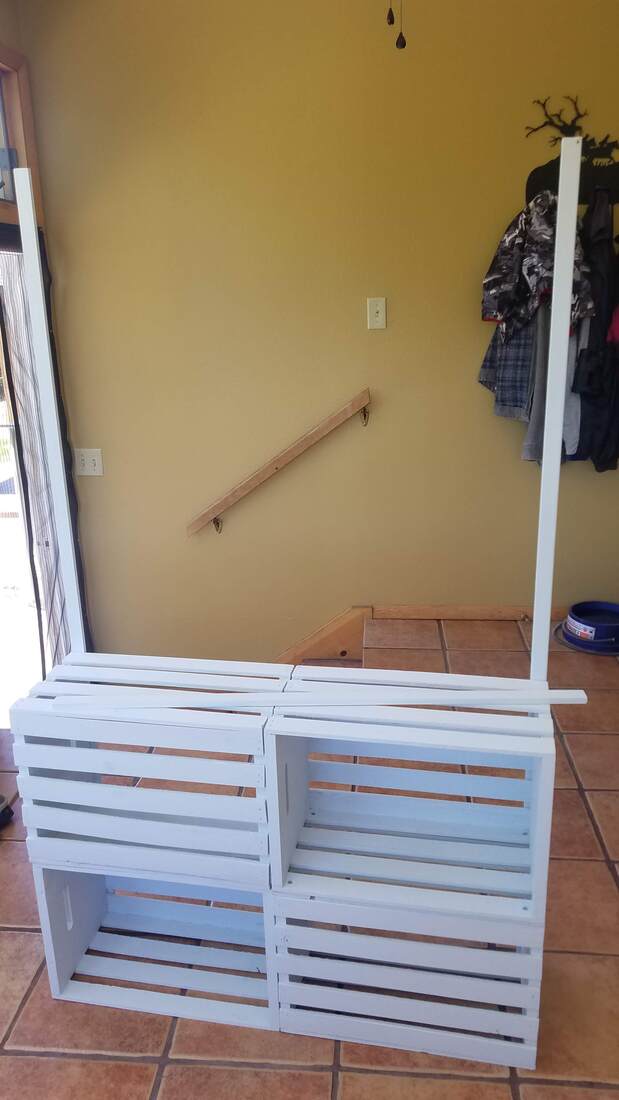 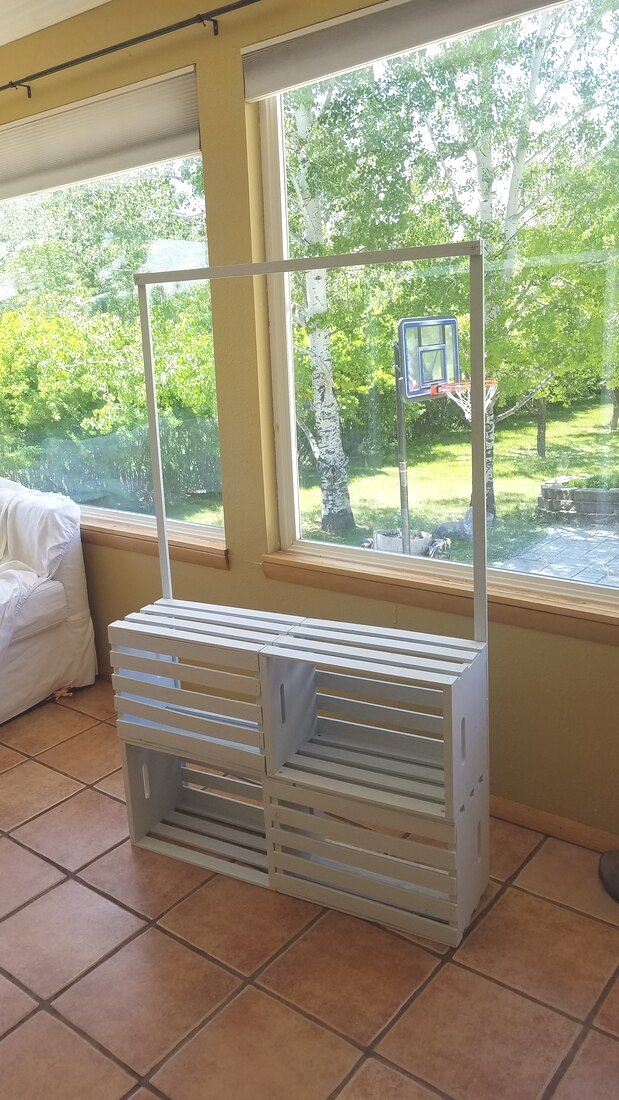 Step 5: Time for Decor!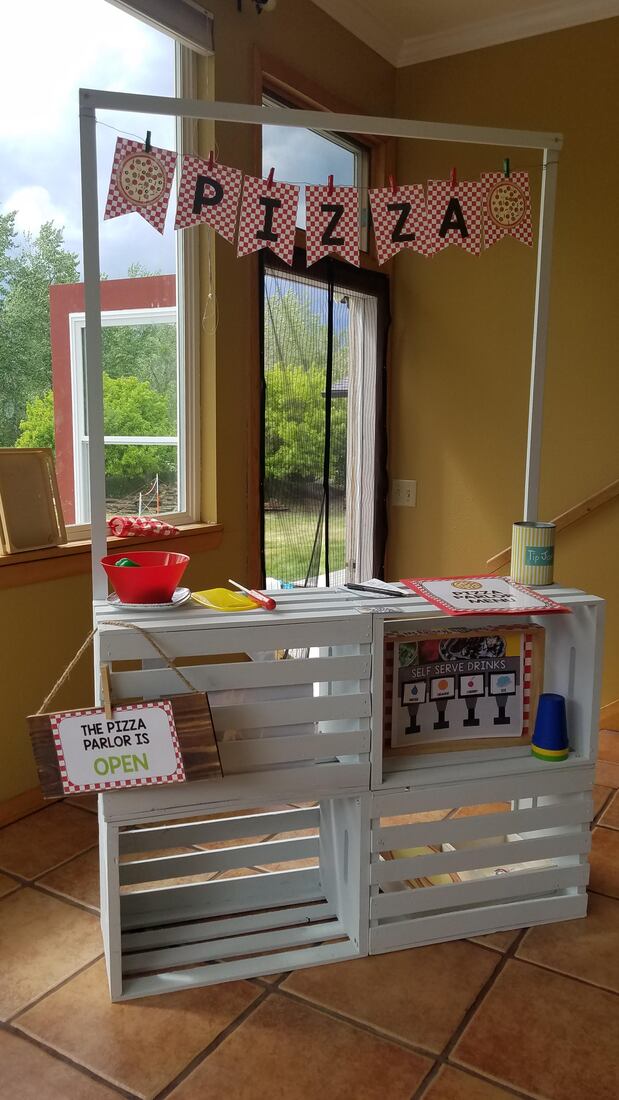 Now time for the best part! Setting up invitations to play! If you're a Pre-K Printables Club Member you have access to 25+ Dramatic Play Printable Packs that can be used with this stand! If you're not a Pre-K Printable Fun Member, be sure to check out some of the fun packs available in our shop below! You May Also Like: Shop Pre-K Printable Fun Dramatic Play: |

What can I help you find?
Become a Member
Get Free
|
 RSS Feed
|
Learning Centers
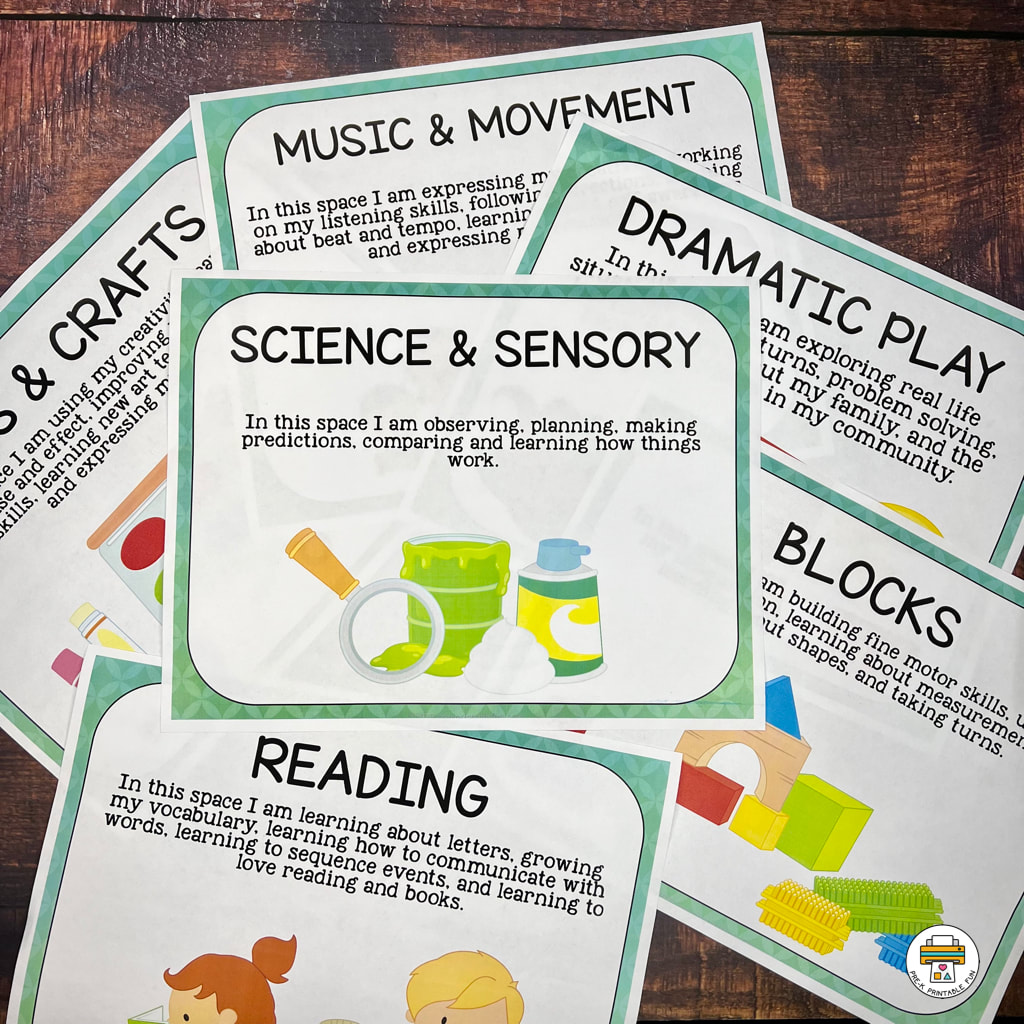
Preschool Learning Centers are commonly referred to as Preschool Centers, or Learning Spaces. These are activity areas dedicated to a specific type of of play and exploring a variety of topics and activities. Download our Free set of Center Signs!
|
Site
|
|