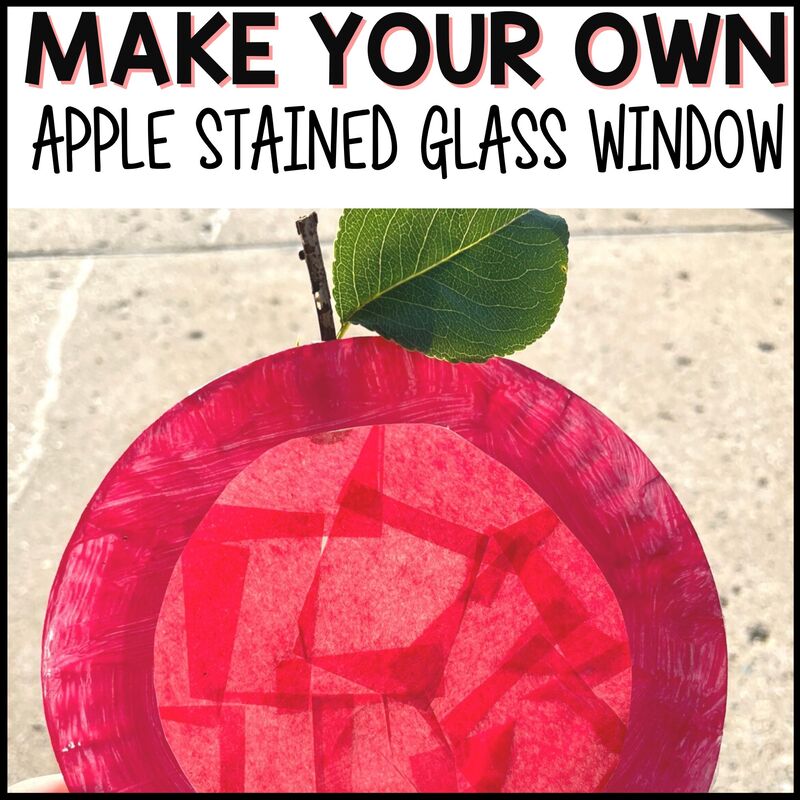
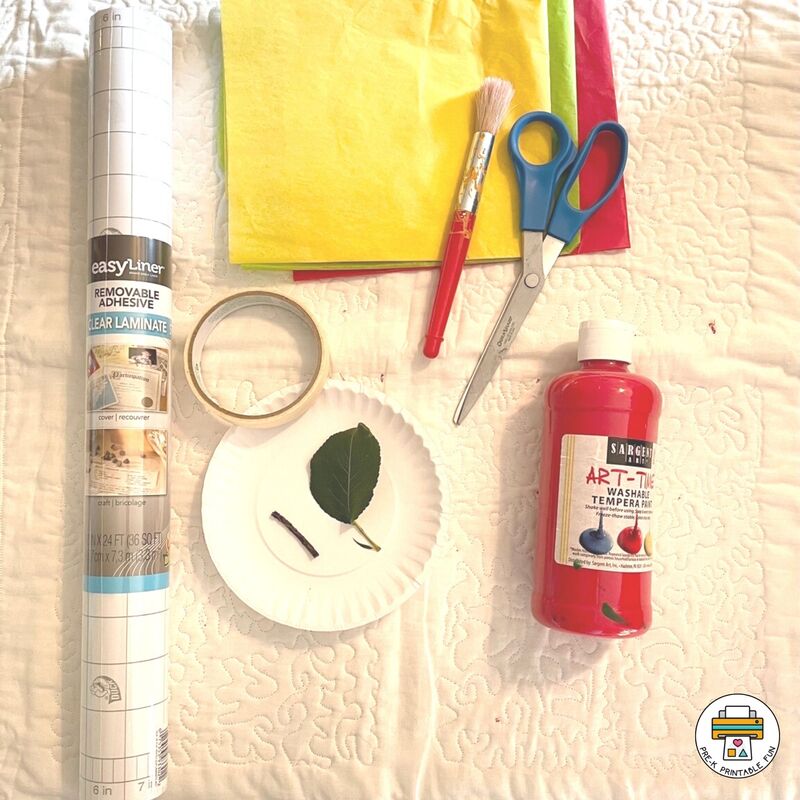
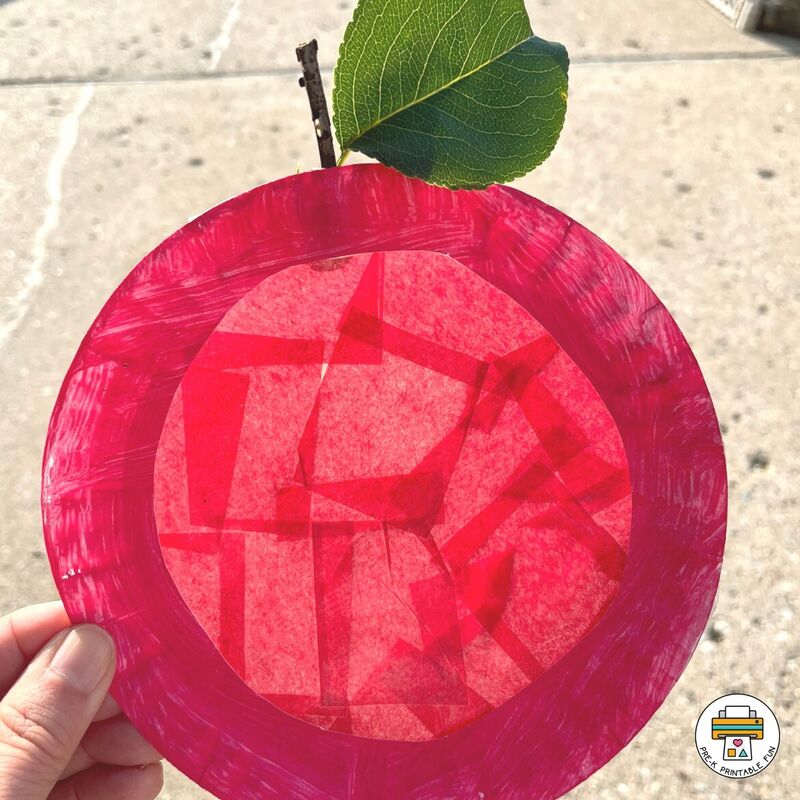
Apple Stained Glass Preschool CraftStained glass window crafts are a fun and simple craft for preschoolers to make using low-cost materials. Paper plates, tissue paper, and paint are all it takes to make these super cute apples. These apples make perfect decorations to capture the sun during an Apple Unit. This activity requires little ones to move those tiny muscles to place pieces of tissue paper onto their apples- great for building up fine-motor muscles! These are also adorable for displaying in the windows of your classrooms or homes. Supplies:This fun activity is one of 200 hands on preschool activities featured in our Pre-K Play Ideas eBook! Purchase our eBook to have all of these activity pages at your fingertips.
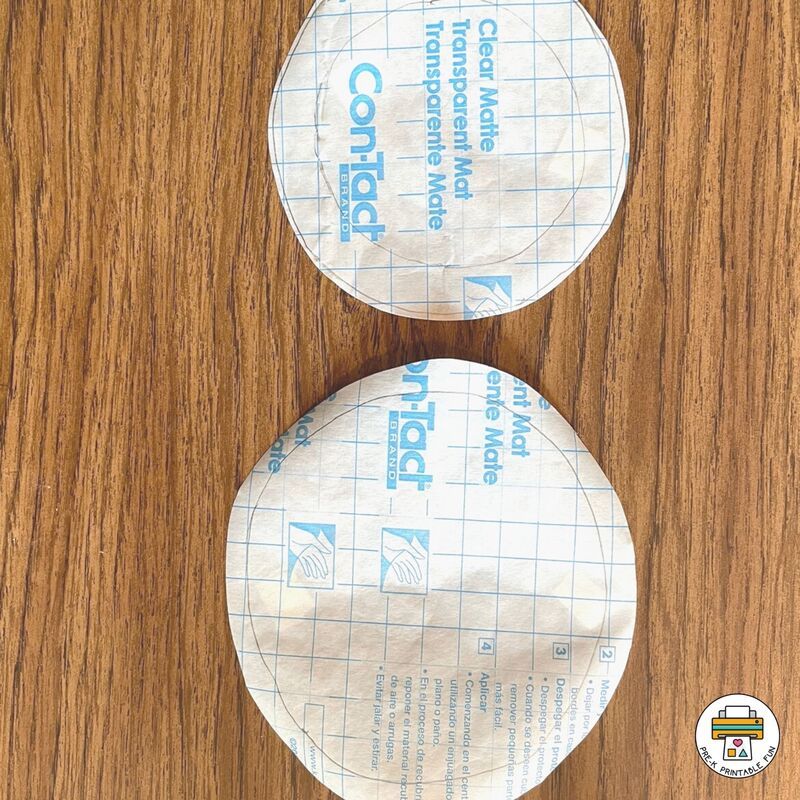
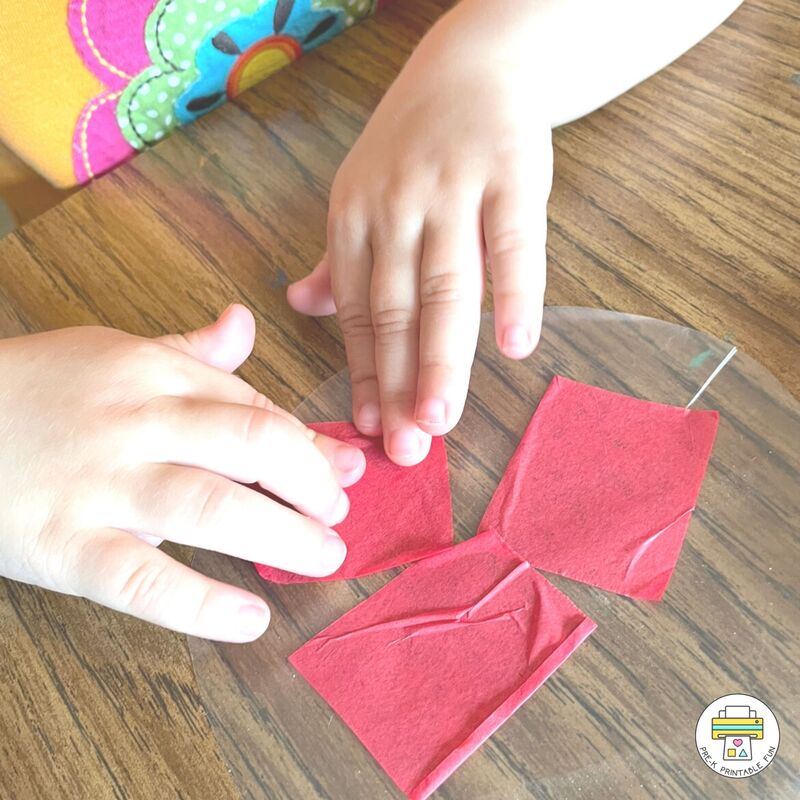
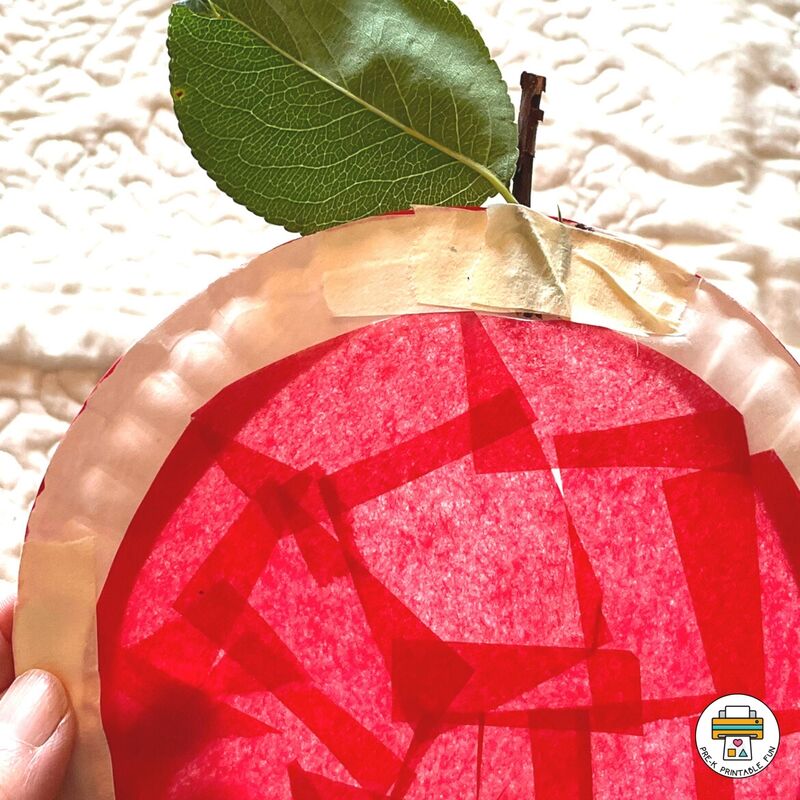
Teacher tip: We suggest having the contact paper circles pre-cut and prepared prior to beginning this craft. It would be fun to take your preschoolers on a nature hunt before doing this activity to allow them to find their own stem and leaf! Process:To begin this activity you will trace the outside of the paper plate onto the contact paper two times. Cut out one as drawn and cut the second one about an inch smaller. Paint the paper plate, when it's dry cut out the inner portion of the plate leaving the outer edge intact. You can also reverse this step, if you prefer to cut out the middle before painting- that works, too! Contact paper is one of the best materials to use during crafts, it eliminates glue and it's very sticky! Talk to your preschoolers about it's stickiness and the importance of being careful when using contact paper. Giving preschoolers a scrap of the material before creating is a great way for them to learn how it works and engage in a fun tactile experience. You'll start by peeling the backing off the smaller contact paper and set face up. Secure with masking tape if necessary. Demonstrate how to lay the tissue paper squares onto the contact paper to the child and then let them cover the contact paper. Peel the backing off the larger contact paper circle and place over the top of the smaller contact paper circle to seal in the tissue paper squares. Smooth the edges to seal. Tape the tissue paper circle to the back of the paper plate and trim the edges. During this project it's helpful to ask preschoolers what they think the next step is, it helps them understand step-by-step directions in a more concrete way. Secure the twig stem and leaf on the back of the paper plate with masking tape. This project is great for modeling the importance of following directions but also being patient and diligent during art. Hang in the window and watch the sun shine through! Buy the eBook!Save time planning your hands on preschool activities! Find detailed directions for this activity + 199 more in our Pre-K Play Ideas eBook! Print each activity page, or access them digitally! You May Also Like:
|
What can I help you find?
Become a MemberGet Free
|
Learning Centers
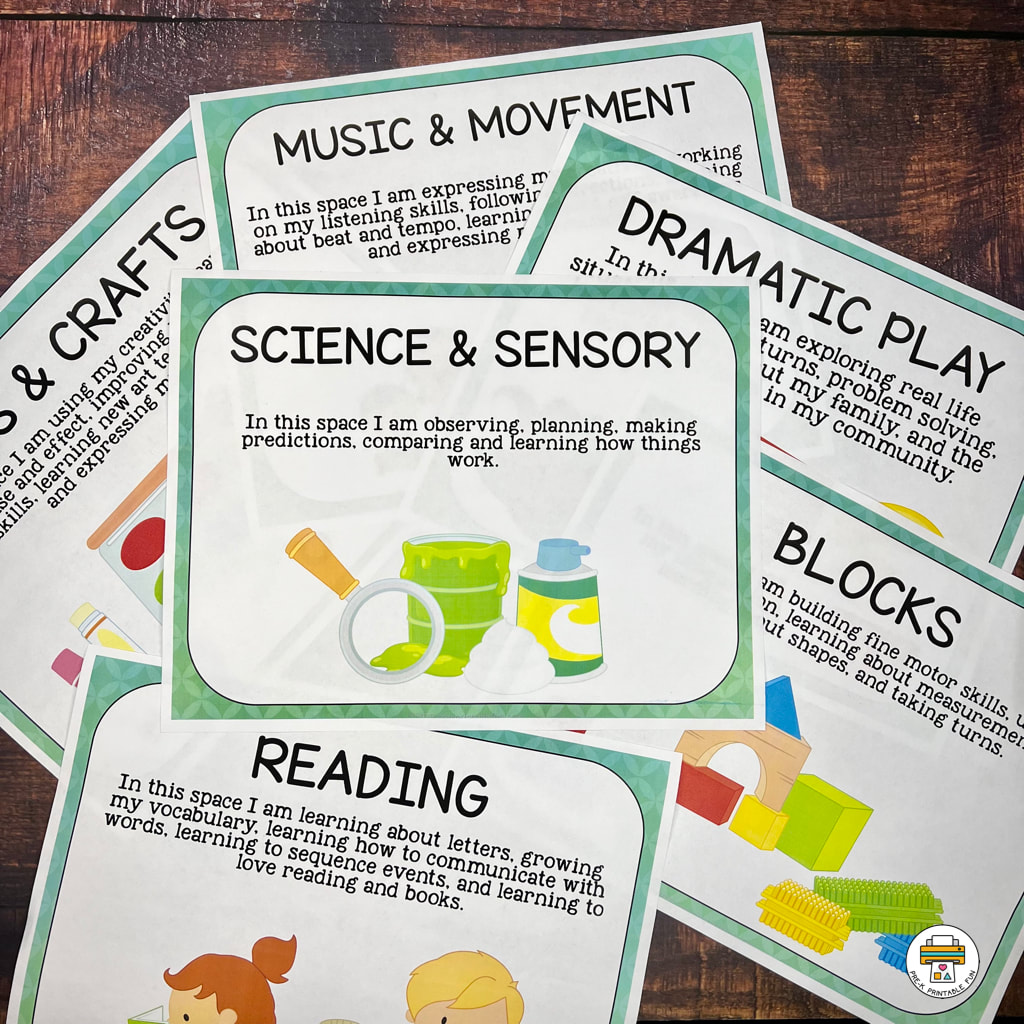
Preschool Learning Centers are commonly referred to as Preschool Centers, or Learning Spaces. These are activity areas dedicated to a specific type of of play and exploring a variety of topics and activities. Download our Free set of Center Signs!
|
Site
|
|



 RSS Feed
