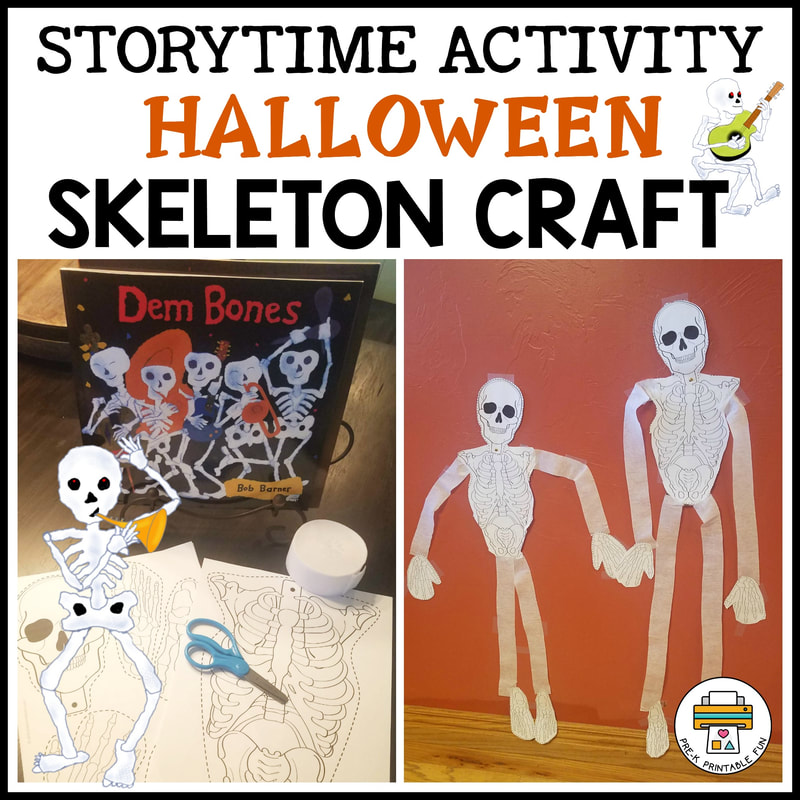
Story Time Activity Dem Bones Book Companion Storytime ActivitiesThis site uses affiliate links (what's that?) This Story Time Book Companion activity is fantastic for supporting literacy skills with a hands on extension activity. Linking activities to fun books is wonderful for language and literacy development! When you follow up a story with a craft or activity, children are naturally working on recalling and sequencing the events from the story. This is a fun and easy activity to do after reading Dem Bones by Bob Barner. You can get the printables shown in this activity for free in my shop at the link in the bottom of this post. This is a fantastic activity to pair with your Preschool Halloween Theme activities. MaterialsYou will only need a few materials for this activity, many of which you may already have on-hand. Materials List:
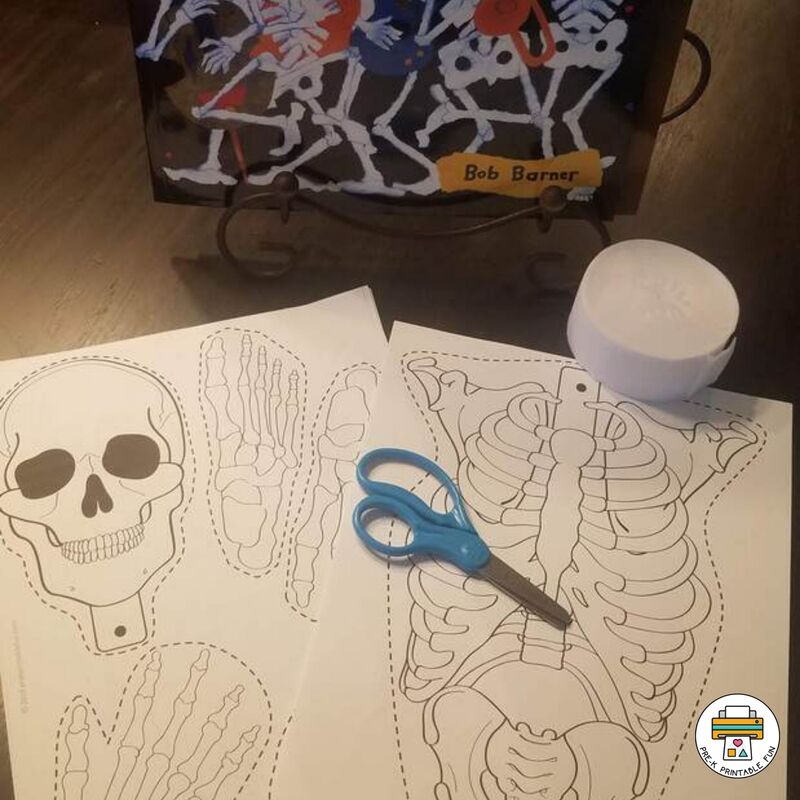
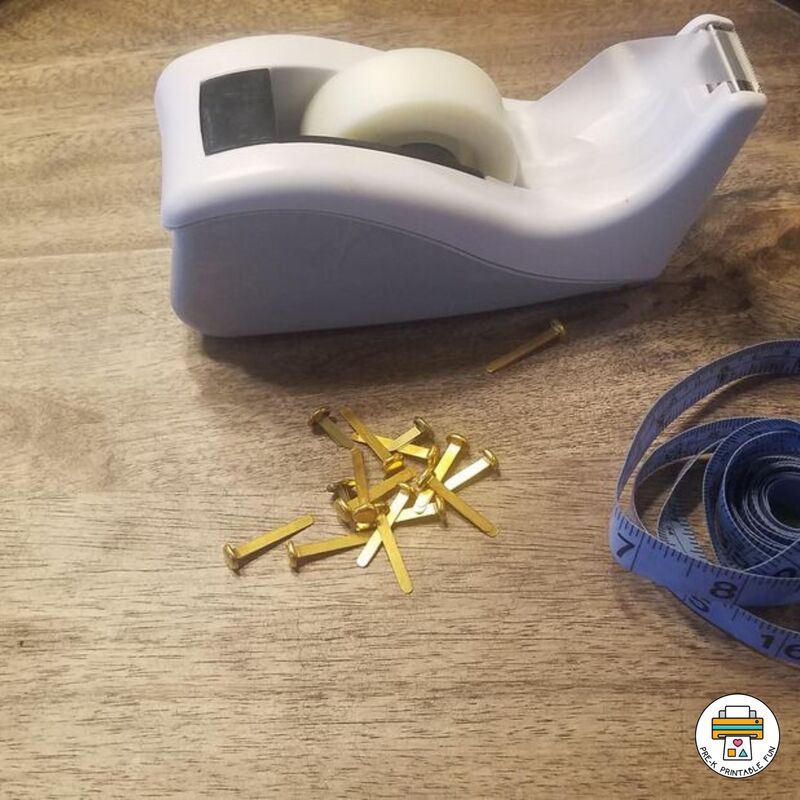
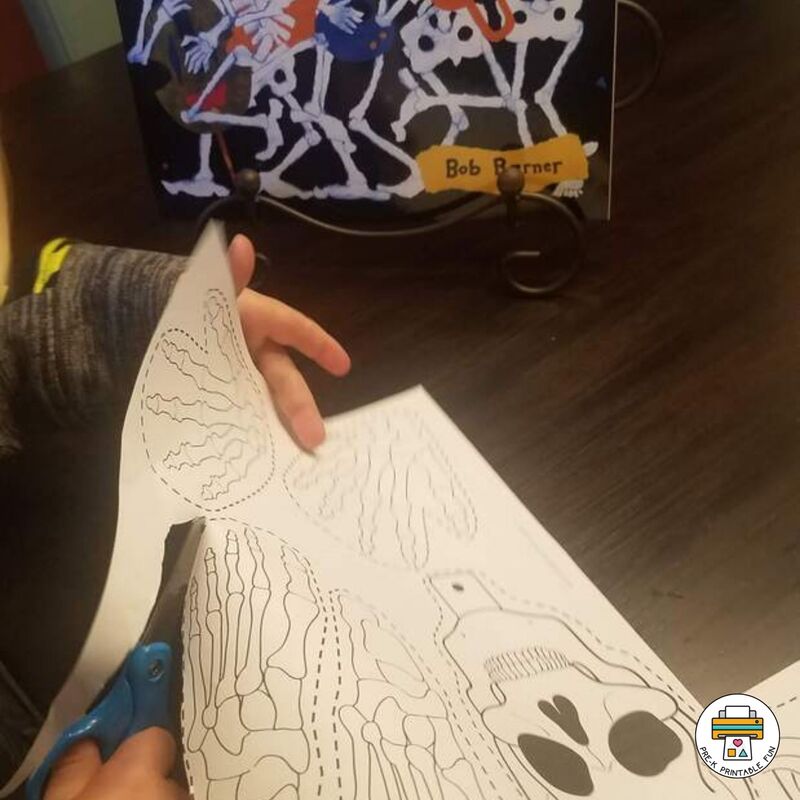
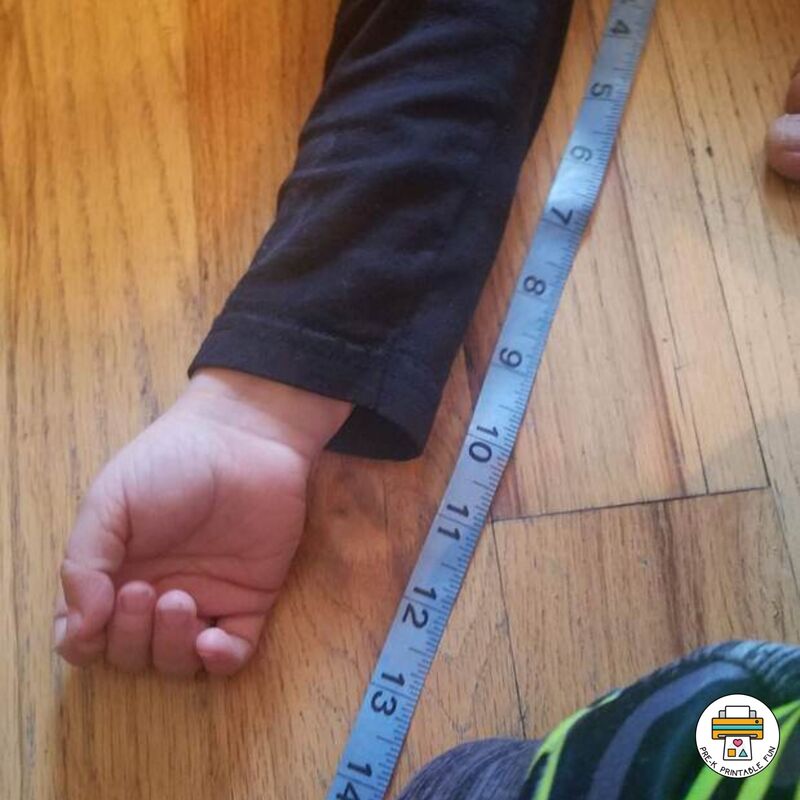
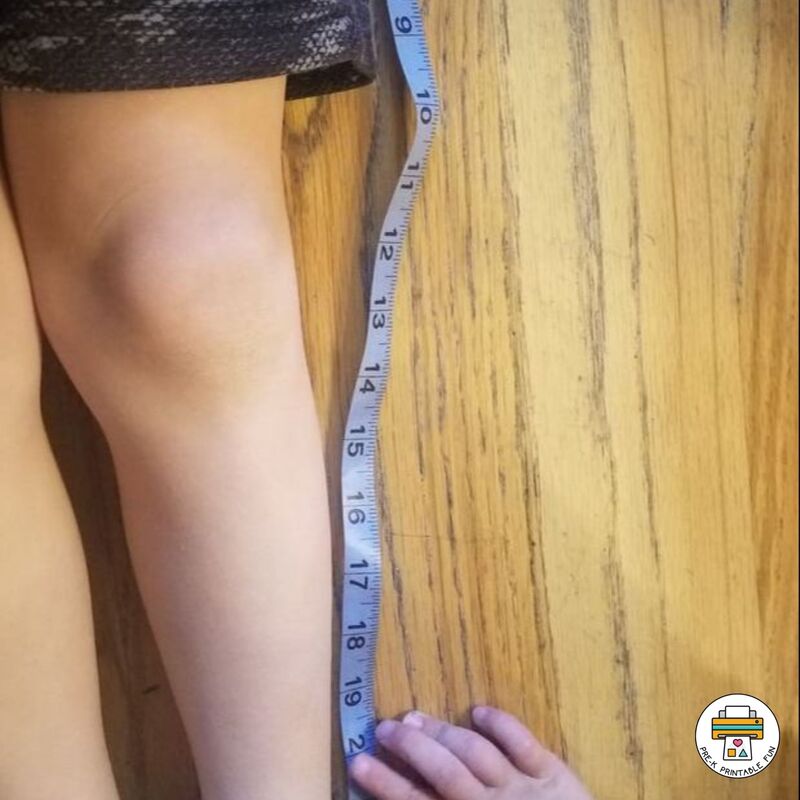
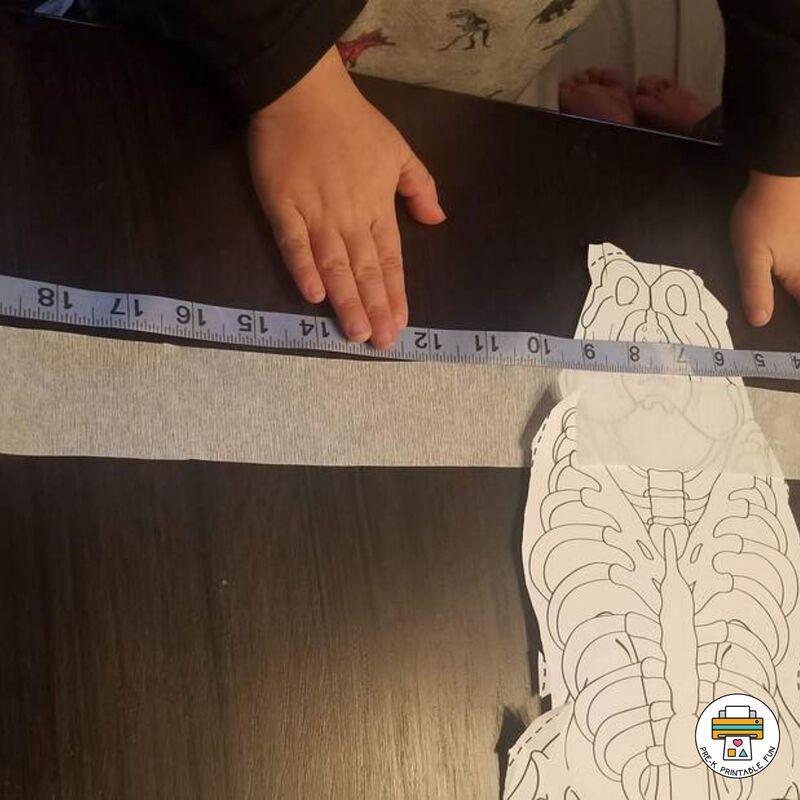
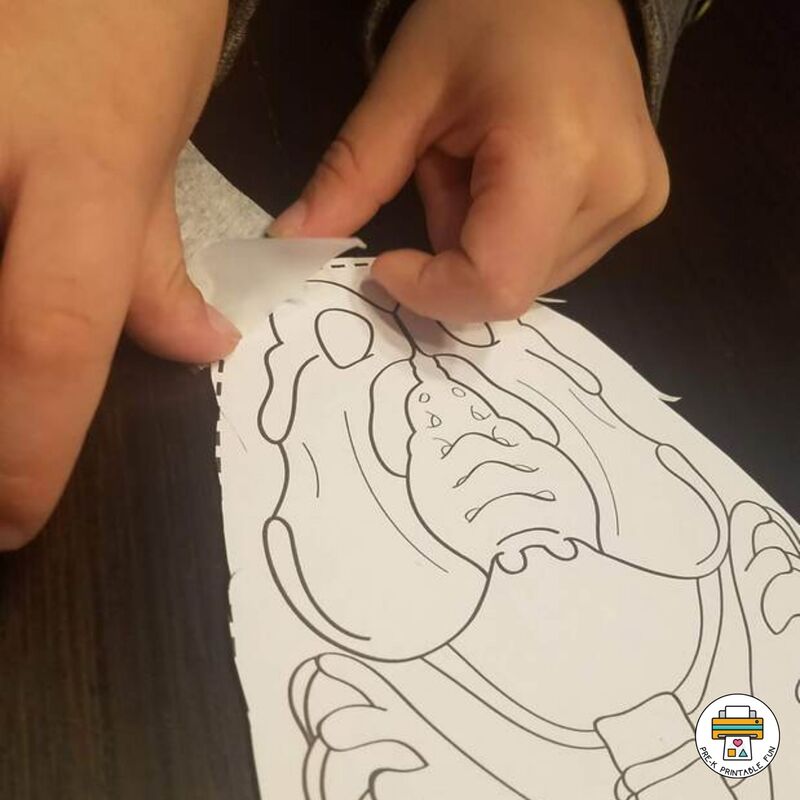
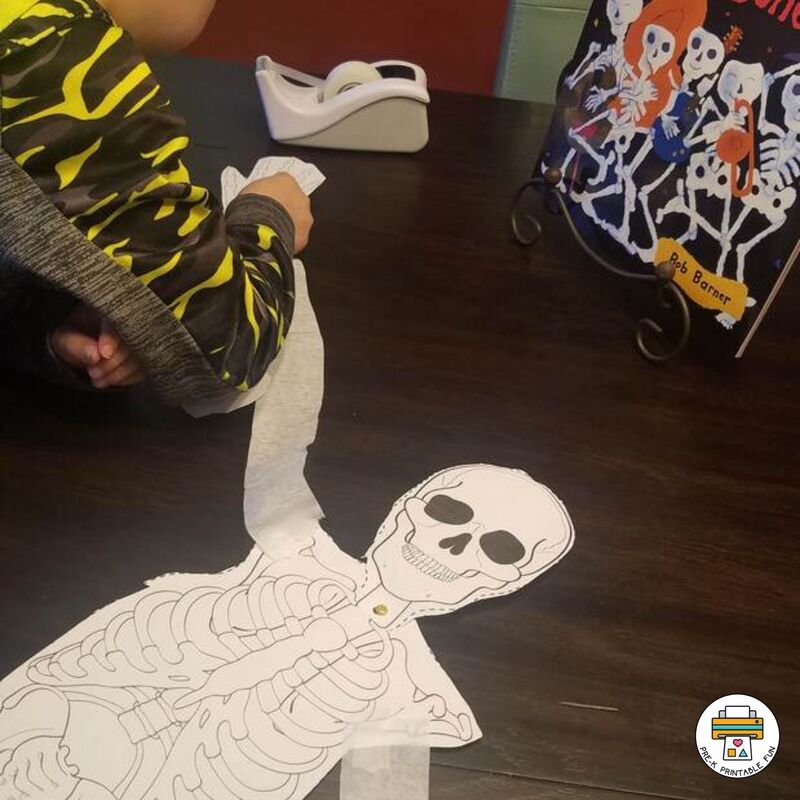
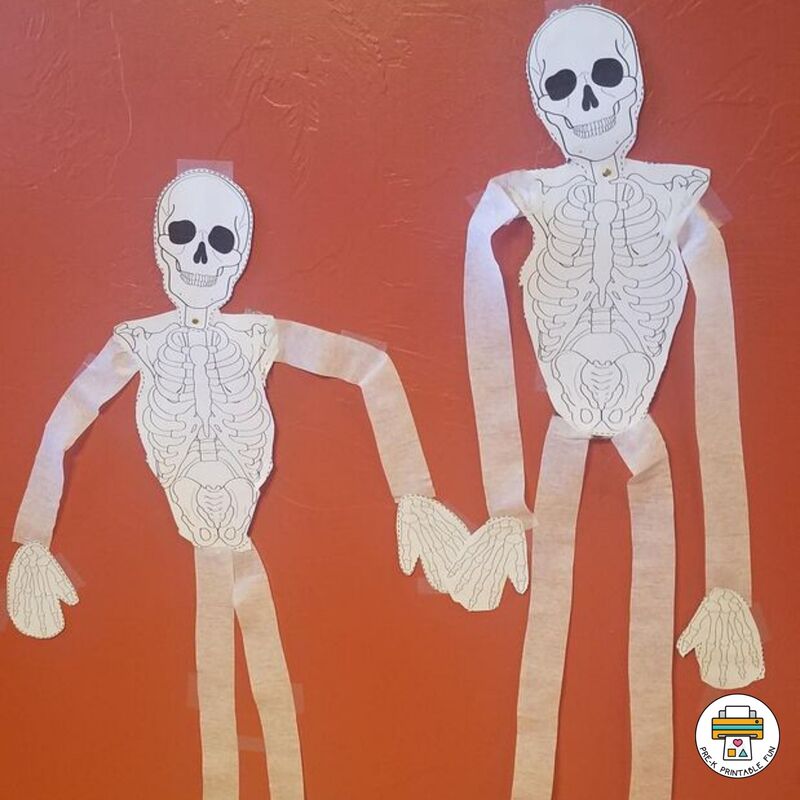
Get Crafting!Once you have all the necessary materials, it's time to begin! Begin by reading Dem Bones by Bob Barner aloud to your preschoolers. This is a fun book that talks about the functions of different bones in the body. Be sure to retell parts of the book during the activity and encourage preschoolers to recall parts of the book as well. There are 6 parts to cut out: the skull, hands, feet, and torso. Preschoolers that have not mastered cutting may need some assistance in this part, you may wish to have them work on the large torso and you can cut out the smaller parts for them. Next it's time to measure dem bones! Children can help measure one another, this is a wonderful time to work on measurement terms as well as numeral recognition! We measured from the armpit to wrist and from the hip to ankle. Record the measurements on an index card. **Teacher Tip: Hang the index card next to the each child's project when complete, these can be used when children talk about their project to visitors as well as with each other. Be sure to take a photograph of the child with the index card for their portfolio! Next, measure and cut the crepe paper. Children can double check their measurements by comparing the piece of crepe paper to their arms and legs. Now it's time to link dem bones! Children can use tape to attach the crepe paper to the torso as well as to the hands and feet. **Teacher Tip: Have children attach put a piece of tape on both sides of the skeleton printout to keep it attached securely. Attach the head using metal brads where the black holes are on the printables. Finally, it's time to display your skeletons! Hang with tape or hole punch the top of the skull to hang with ribbon. **Extension: After hanging have visitors, parents, and peers try to guess who's skeleton belongs to each student! Download Your Free Skeleton Printable in my Store! Download this freebie in my shop and check out more fun Halloween Resources while you're there! |
What can I help you find?
Become a MemberGet Free
|
Learning Centers
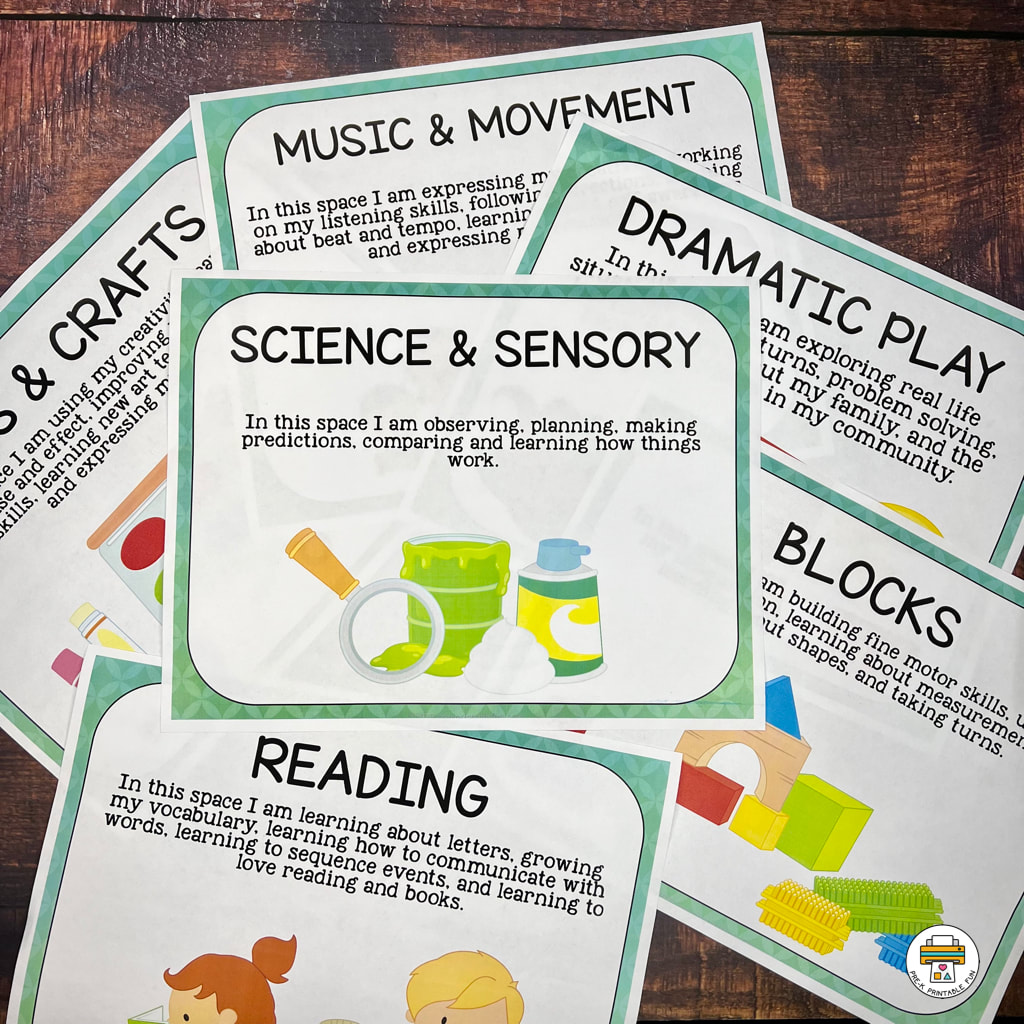
Preschool Learning Centers are commonly referred to as Preschool Centers, or Learning Spaces. These are activity areas dedicated to a specific type of of play and exploring a variety of topics and activities. Download our Free set of Center Signs!
|
Site
|
|


 RSS Feed
