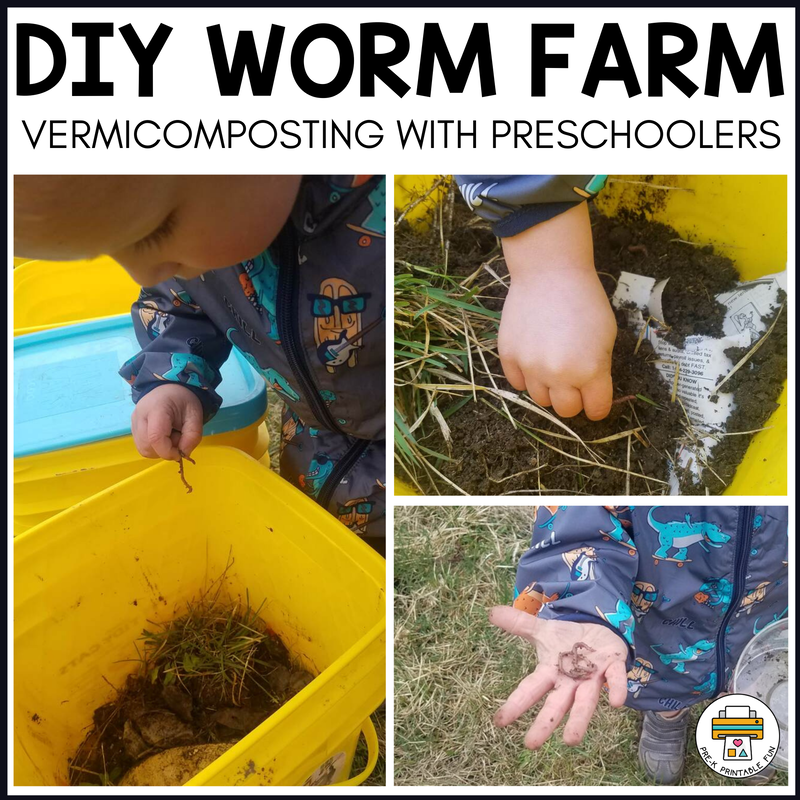
DIY Worm Farm with PreschoolersThis site uses affiliate links (What's that?). Preschoolers love exploring anything in the dirt, including worms! Creating a worm farm will offer many learning opportunities for preschoolers. In particular, worm farms are great for sensory and science development. Engage in this experiment as part of your Worms, Snails, & Slugs theme or anytime! Step 1: Prepare the worm housingThis fun activity is one of 200 hands on preschool activities featured in our Pre-K Play Ideas eBook! Purchase our eBook to have all of these activity pages at your fingertips. This DIY Worm Farm Tutorial will guide you in creating your worm farm for little to no cost! The first step is to gather your materials. Materials List:
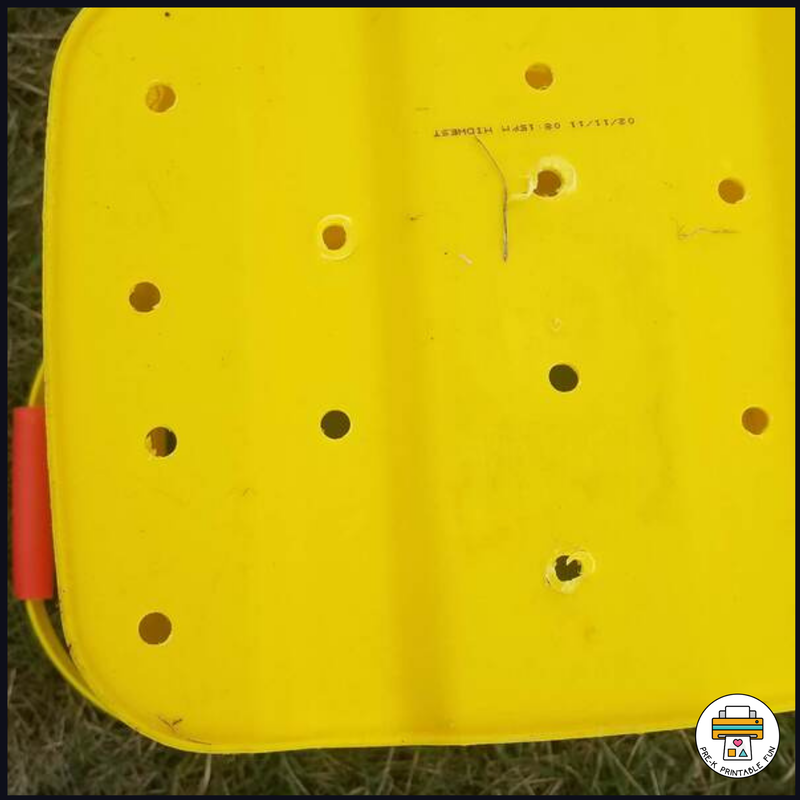
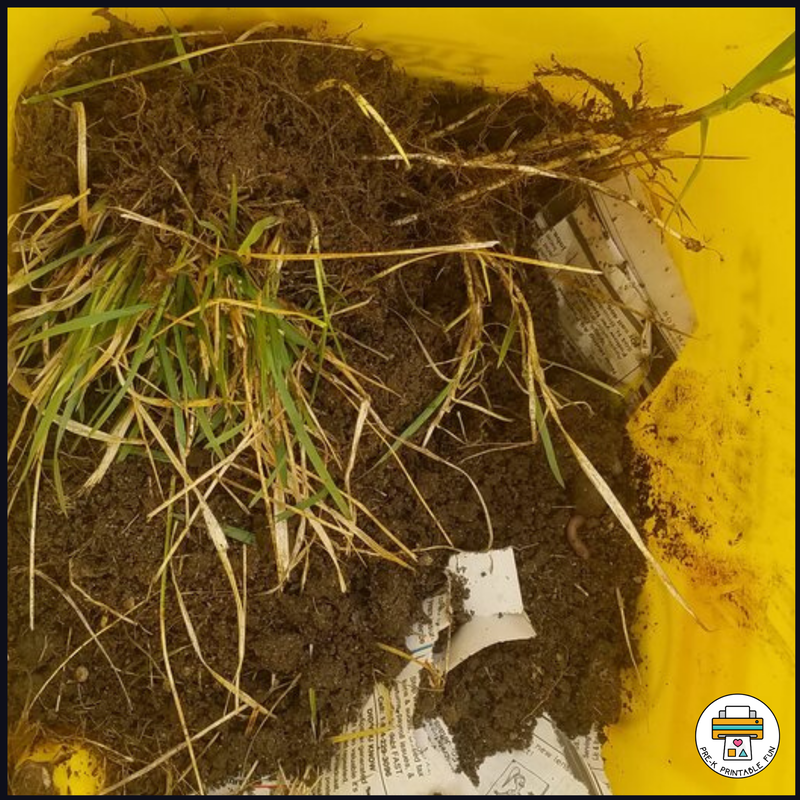
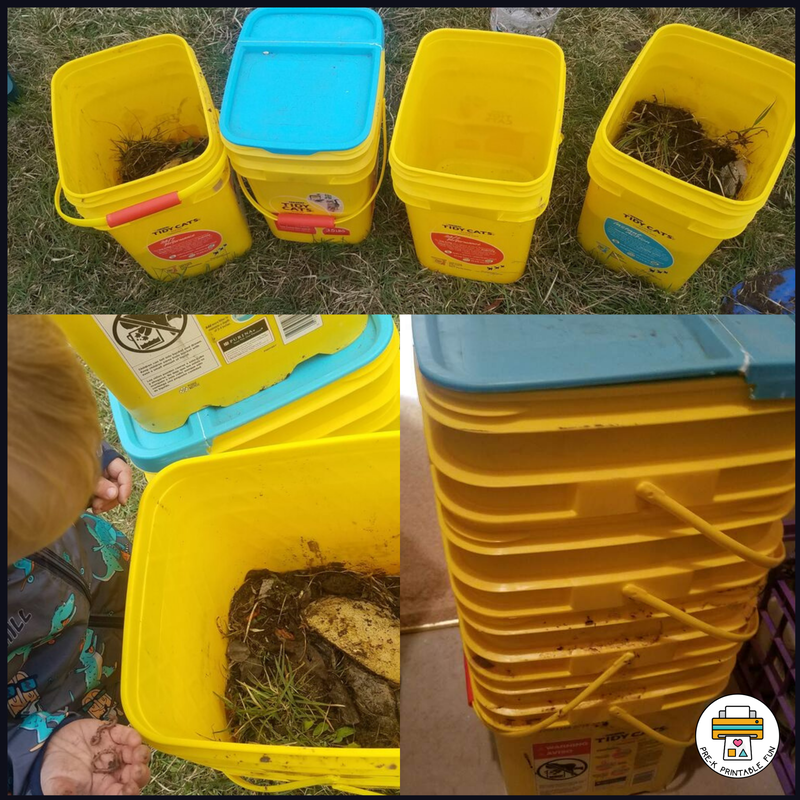
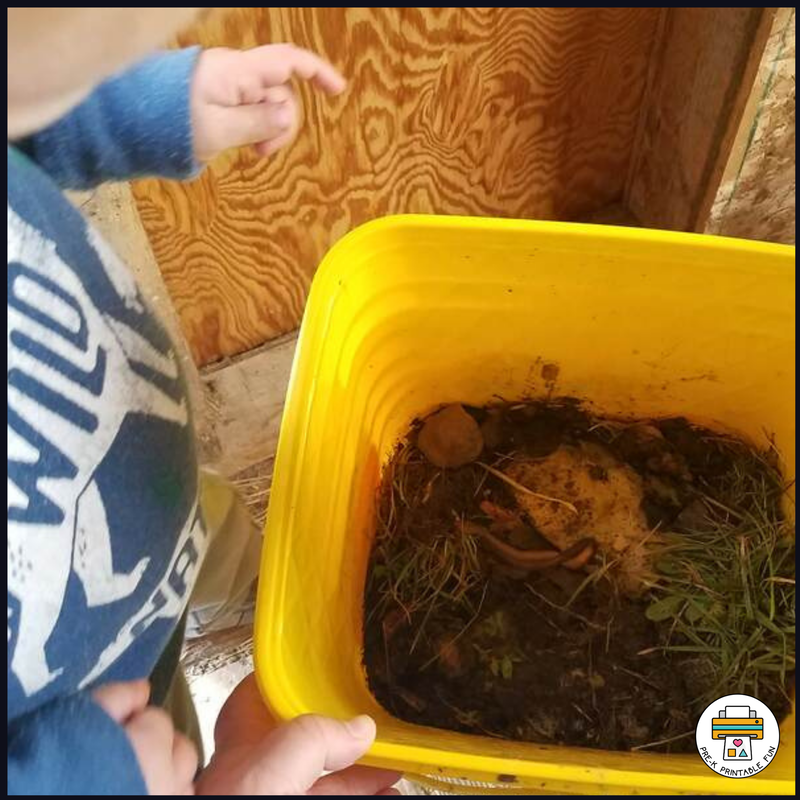
You will be putting holes in 3 of the bins (the 4th bin will be on the bottom and should not have holes). Use your 1/4" drill bit and drill holes along the bottom. The holes will allow water to drain through and the worms to travel between bins. Step 2: BeddingSelect two of your bins with holes in them. Place bedding material in the bottom, the bedding should be a combination of newspaper, dead leaves, and peat moss. Make sure this material is moist but not soaked. In one of the containers, place some food scraps on top of the bedding mixture, this will be the bin you will be adding the worms to. Step 3: Add WormsTime to add the worms! Red wigglers are best for worm farms as they thrive in the tight conditions. You can get some from your local garden center or ask another worm farmer to share some. You can dig up worms from the ground, but they may not do as well. Kids love to dig for worms, add some of your red wigglers to a container of soil for your kiddos to "dig up." As they find the worms, add to their new home. Step 4: Putting it all togetherYou now have your four bins ready to go! Your bin with nothing in it should be on the bottom. Nest the bin with the worms inside of bottom bin, then place the bin with the bedding, then the top bin (which is currently empty) with the lid. Place the stack in a dark and warm place. When we started it was still very cold so we stored them in an indoor closet until it warmed up. You might store yours in a shed, garage, or in a shady spot outside. UpkeepPlan to check on your worms about once a week.
Take pictures of the contents of the bins often to refer back to. Talk about what is happening in each bin. Here are some great books and material ideas to help guide the experience and enhance preschoolers learning! Buy the eBook!Save time planning your hands on preschool activities! Find detailed directions for this activity + 199 more in our Pre-K Play Ideas eBook! Print each activity page, or access them digitally! You Might Like |
What can I help you find?
Become a MemberGet Free
|
Learning Centers
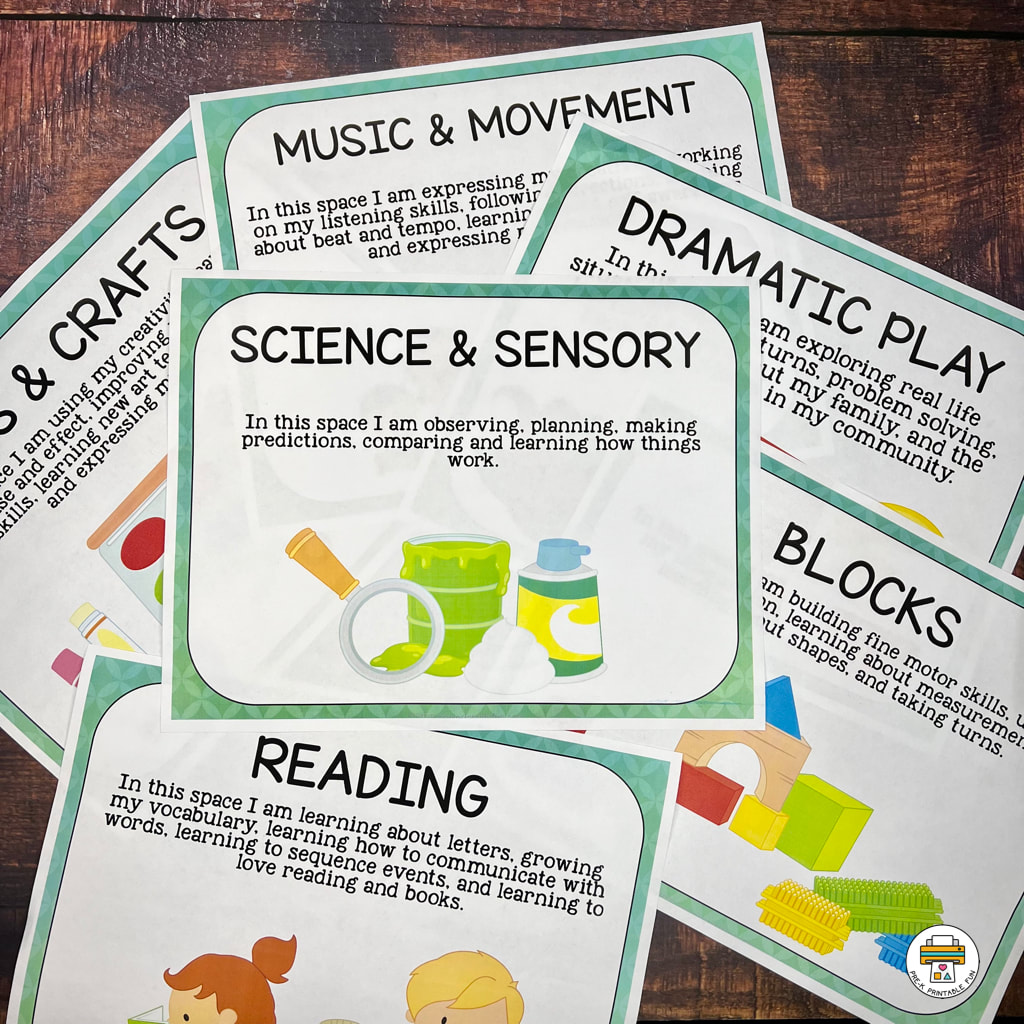
Preschool Learning Centers are commonly referred to as Preschool Centers, or Learning Spaces. These are activity areas dedicated to a specific type of of play and exploring a variety of topics and activities. Download our Free set of Center Signs!
|
Site
|
|



 RSS Feed
